For the holidays last year, my good friends, Al and Amie surprised me with a Raspberry Pi kit.

I’ve had an idea for a while now to put up a panel or screen that ties various boat systems together and displays relavent information, such as location, boat speed, ais information…etc.
Yes, there are turn-key solutions for this, but I would also like to have a system I can tinker with and make my own.
I also have a bunch of amateur radio gear, and need a place to store/use the equipment.
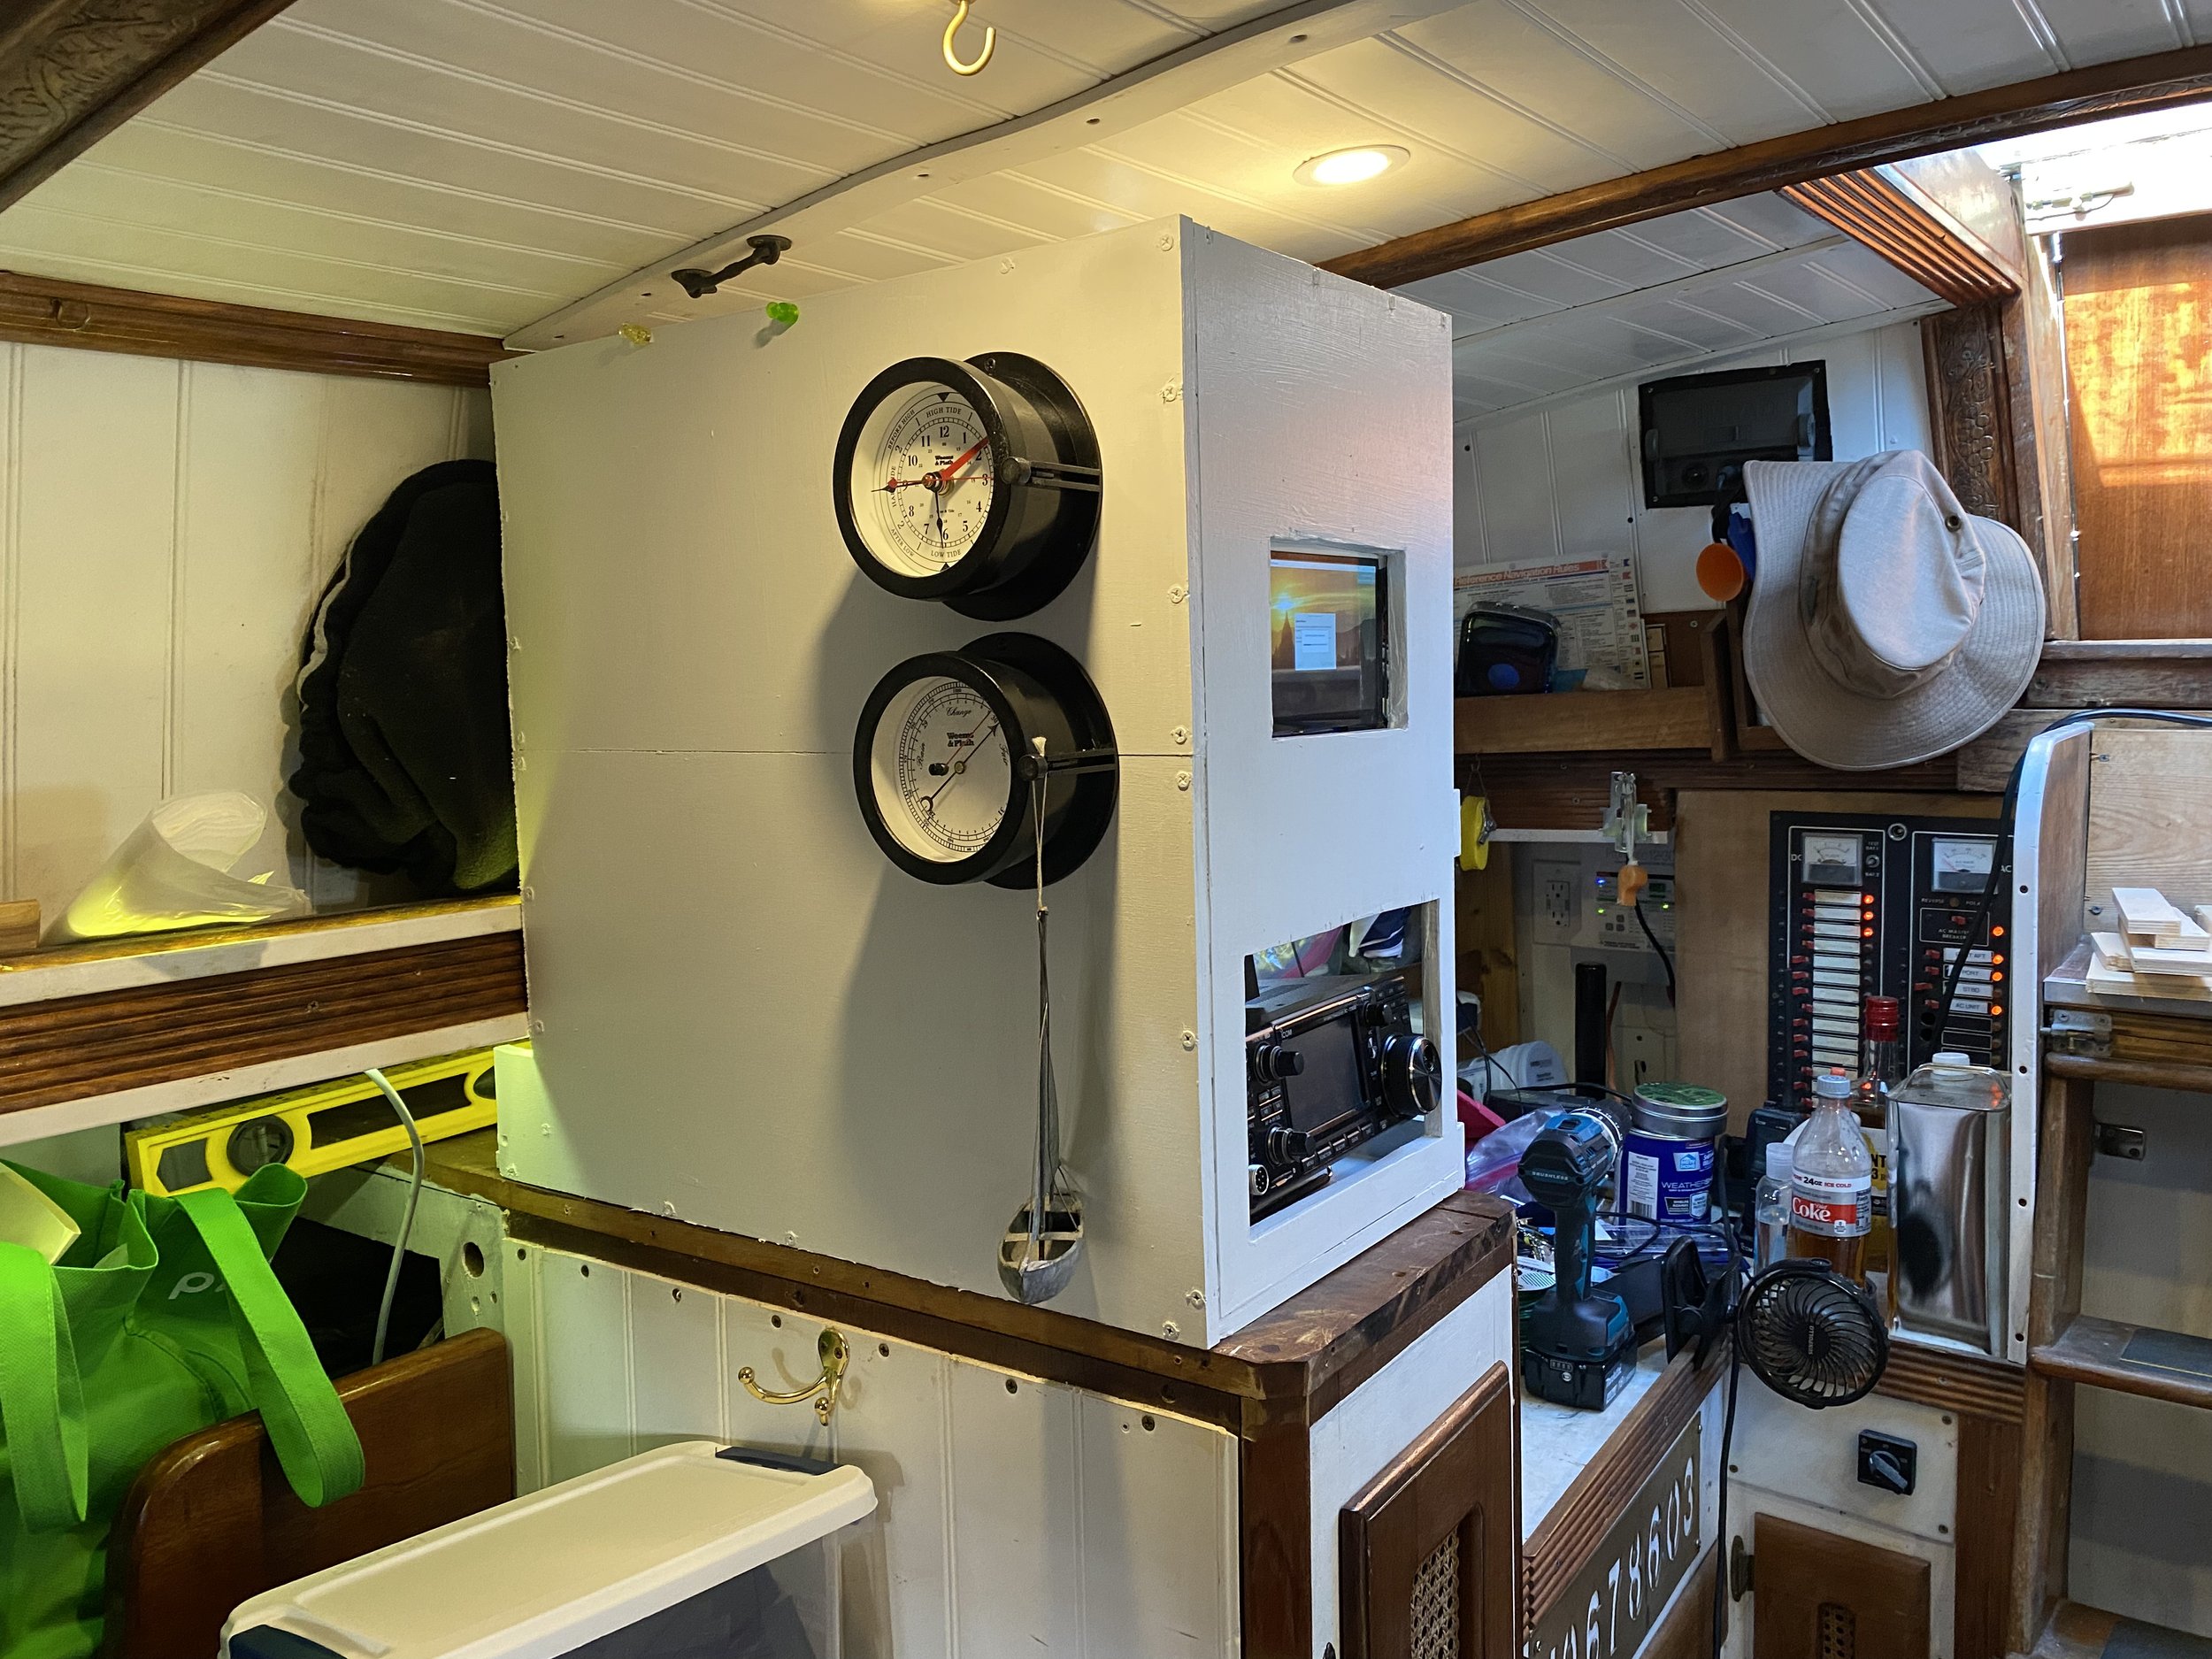
The navigation station on my boat is always cluttered with current projects and, well, stuff. It’s a problem. Next to the nav station is the wet locker, the place to store foul weather gear, but above it is an open shelf. It’s a nice shelf, but it is just another horizontal space for stuff to gather. I’d rather have my radio equipment there.

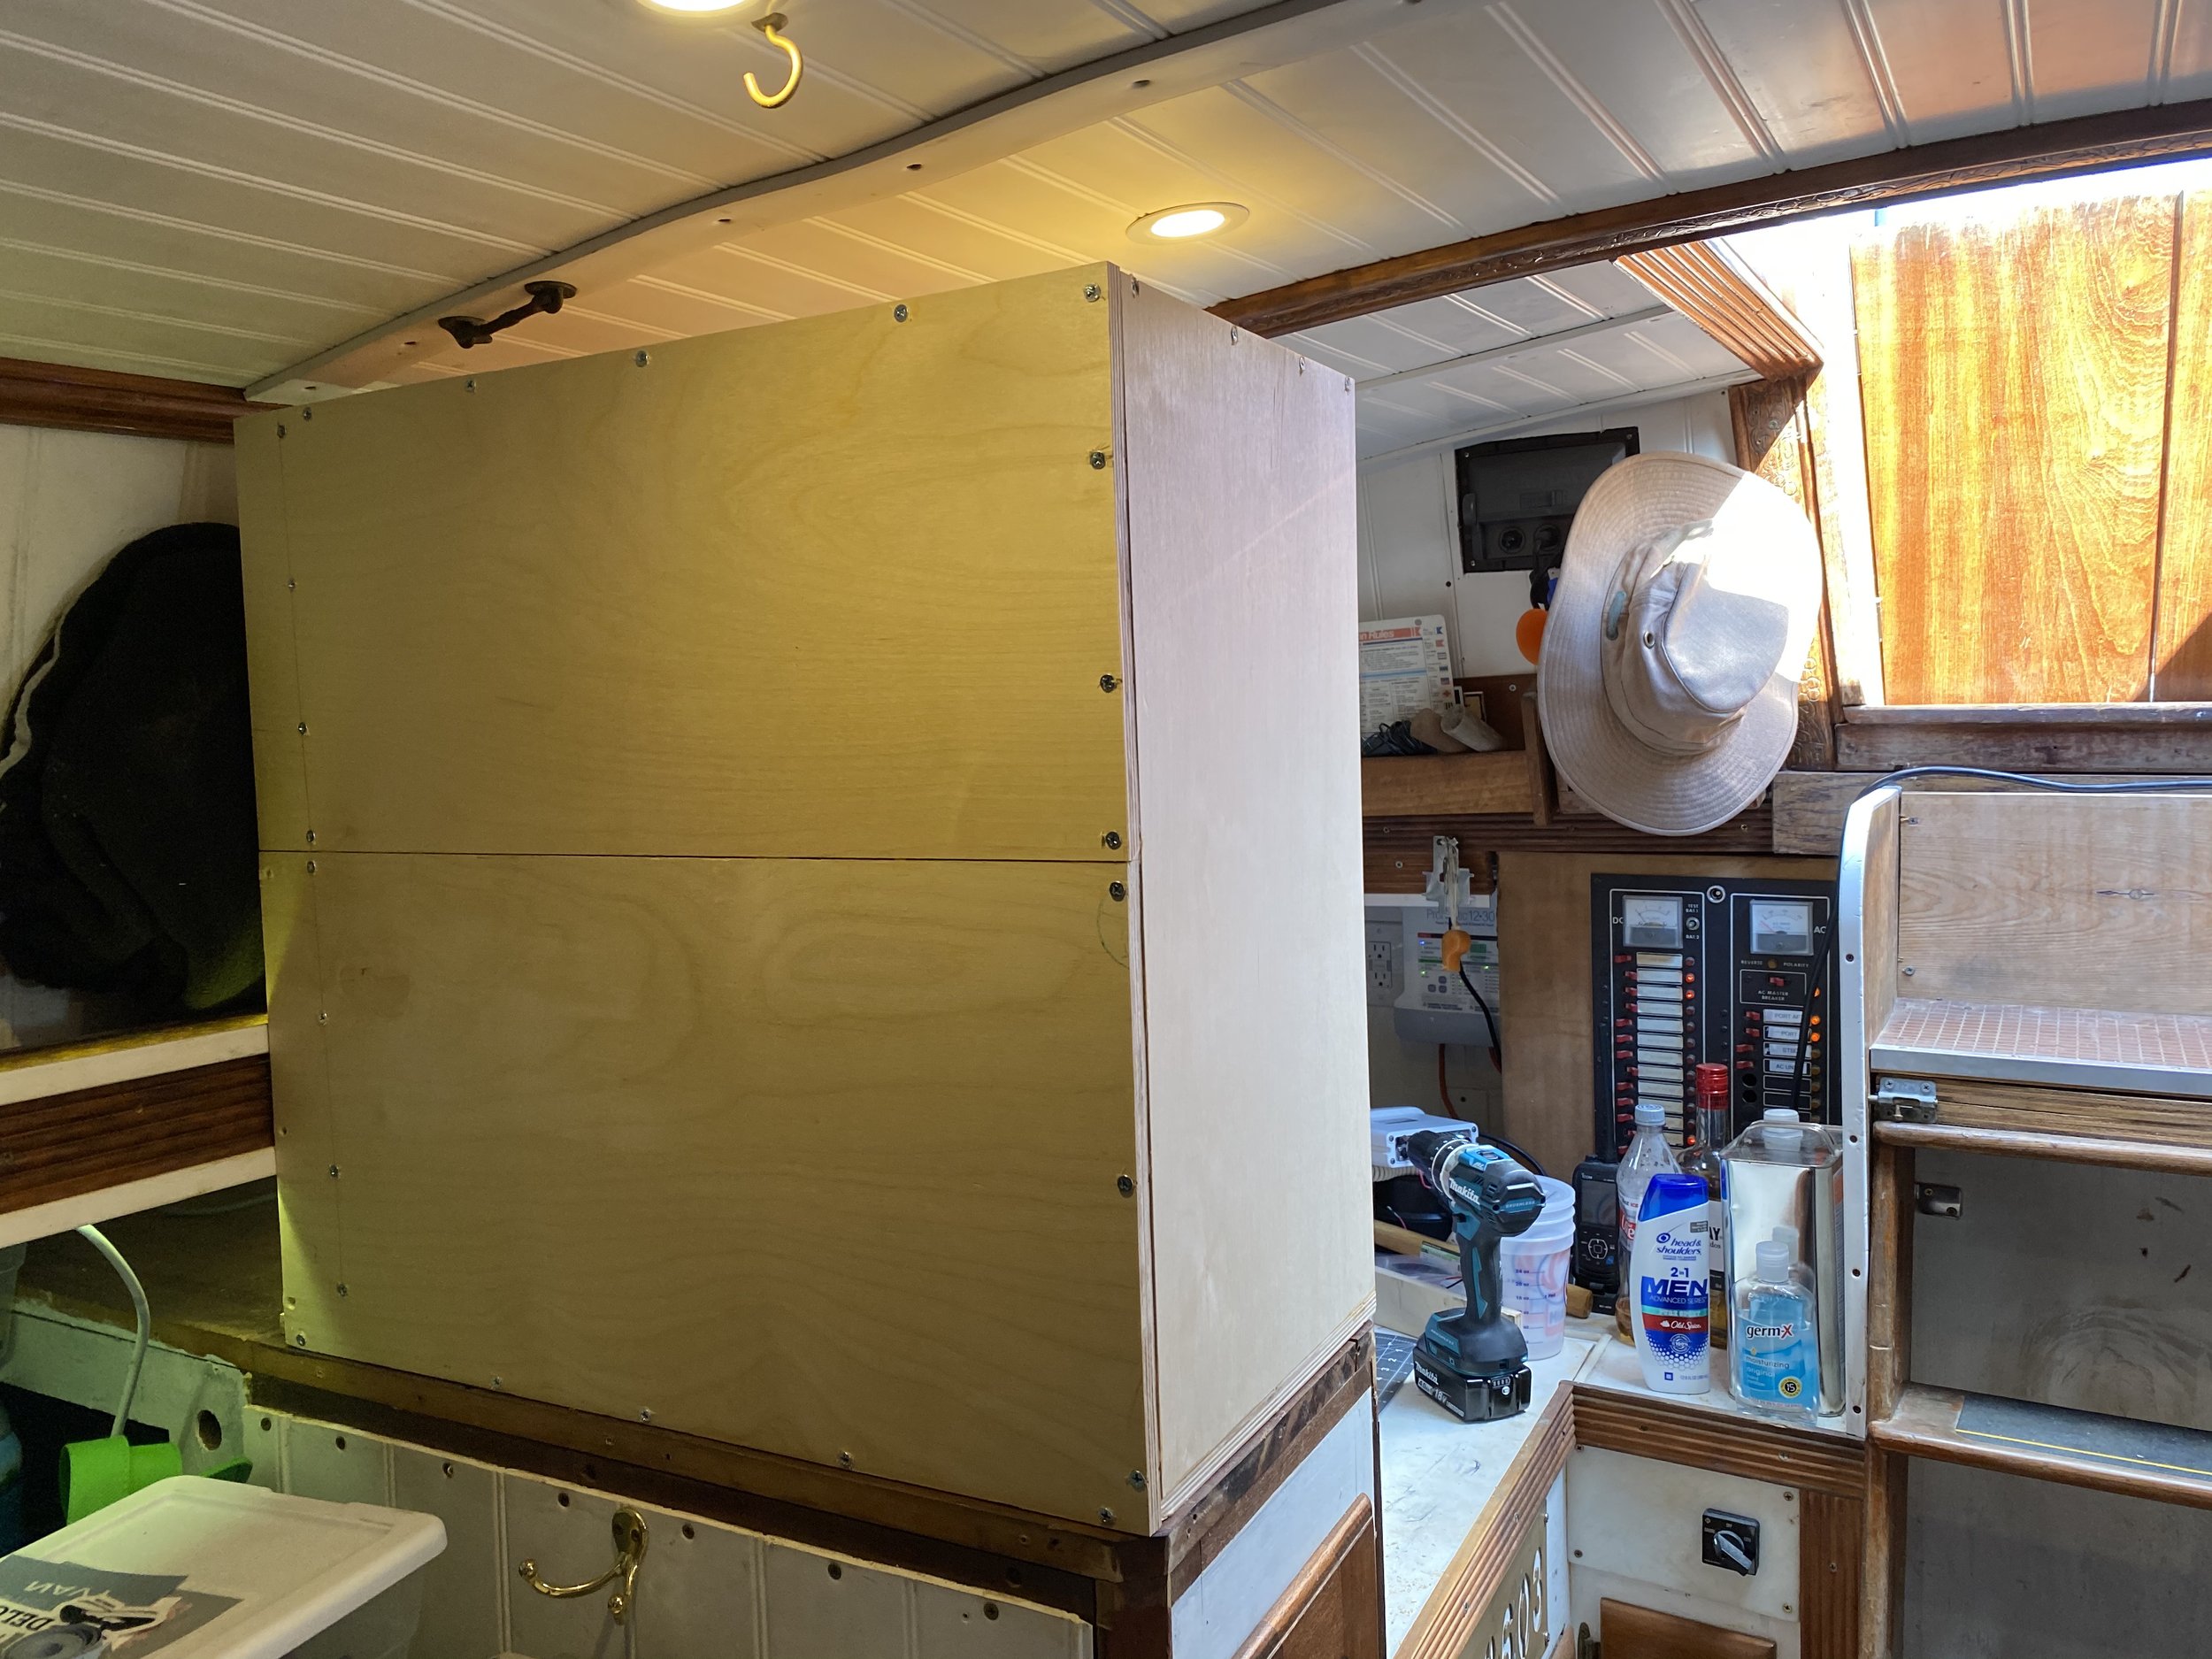
So I decided to create a new cabinet to hold the raspberry pi and panel, as well as my radio gear and a new (yet to be purchased) ais system.
The new cabinet will need it’s own power distribution, and while I’m at it, I might as well add some 12volt and usb jacks for charging stuff.
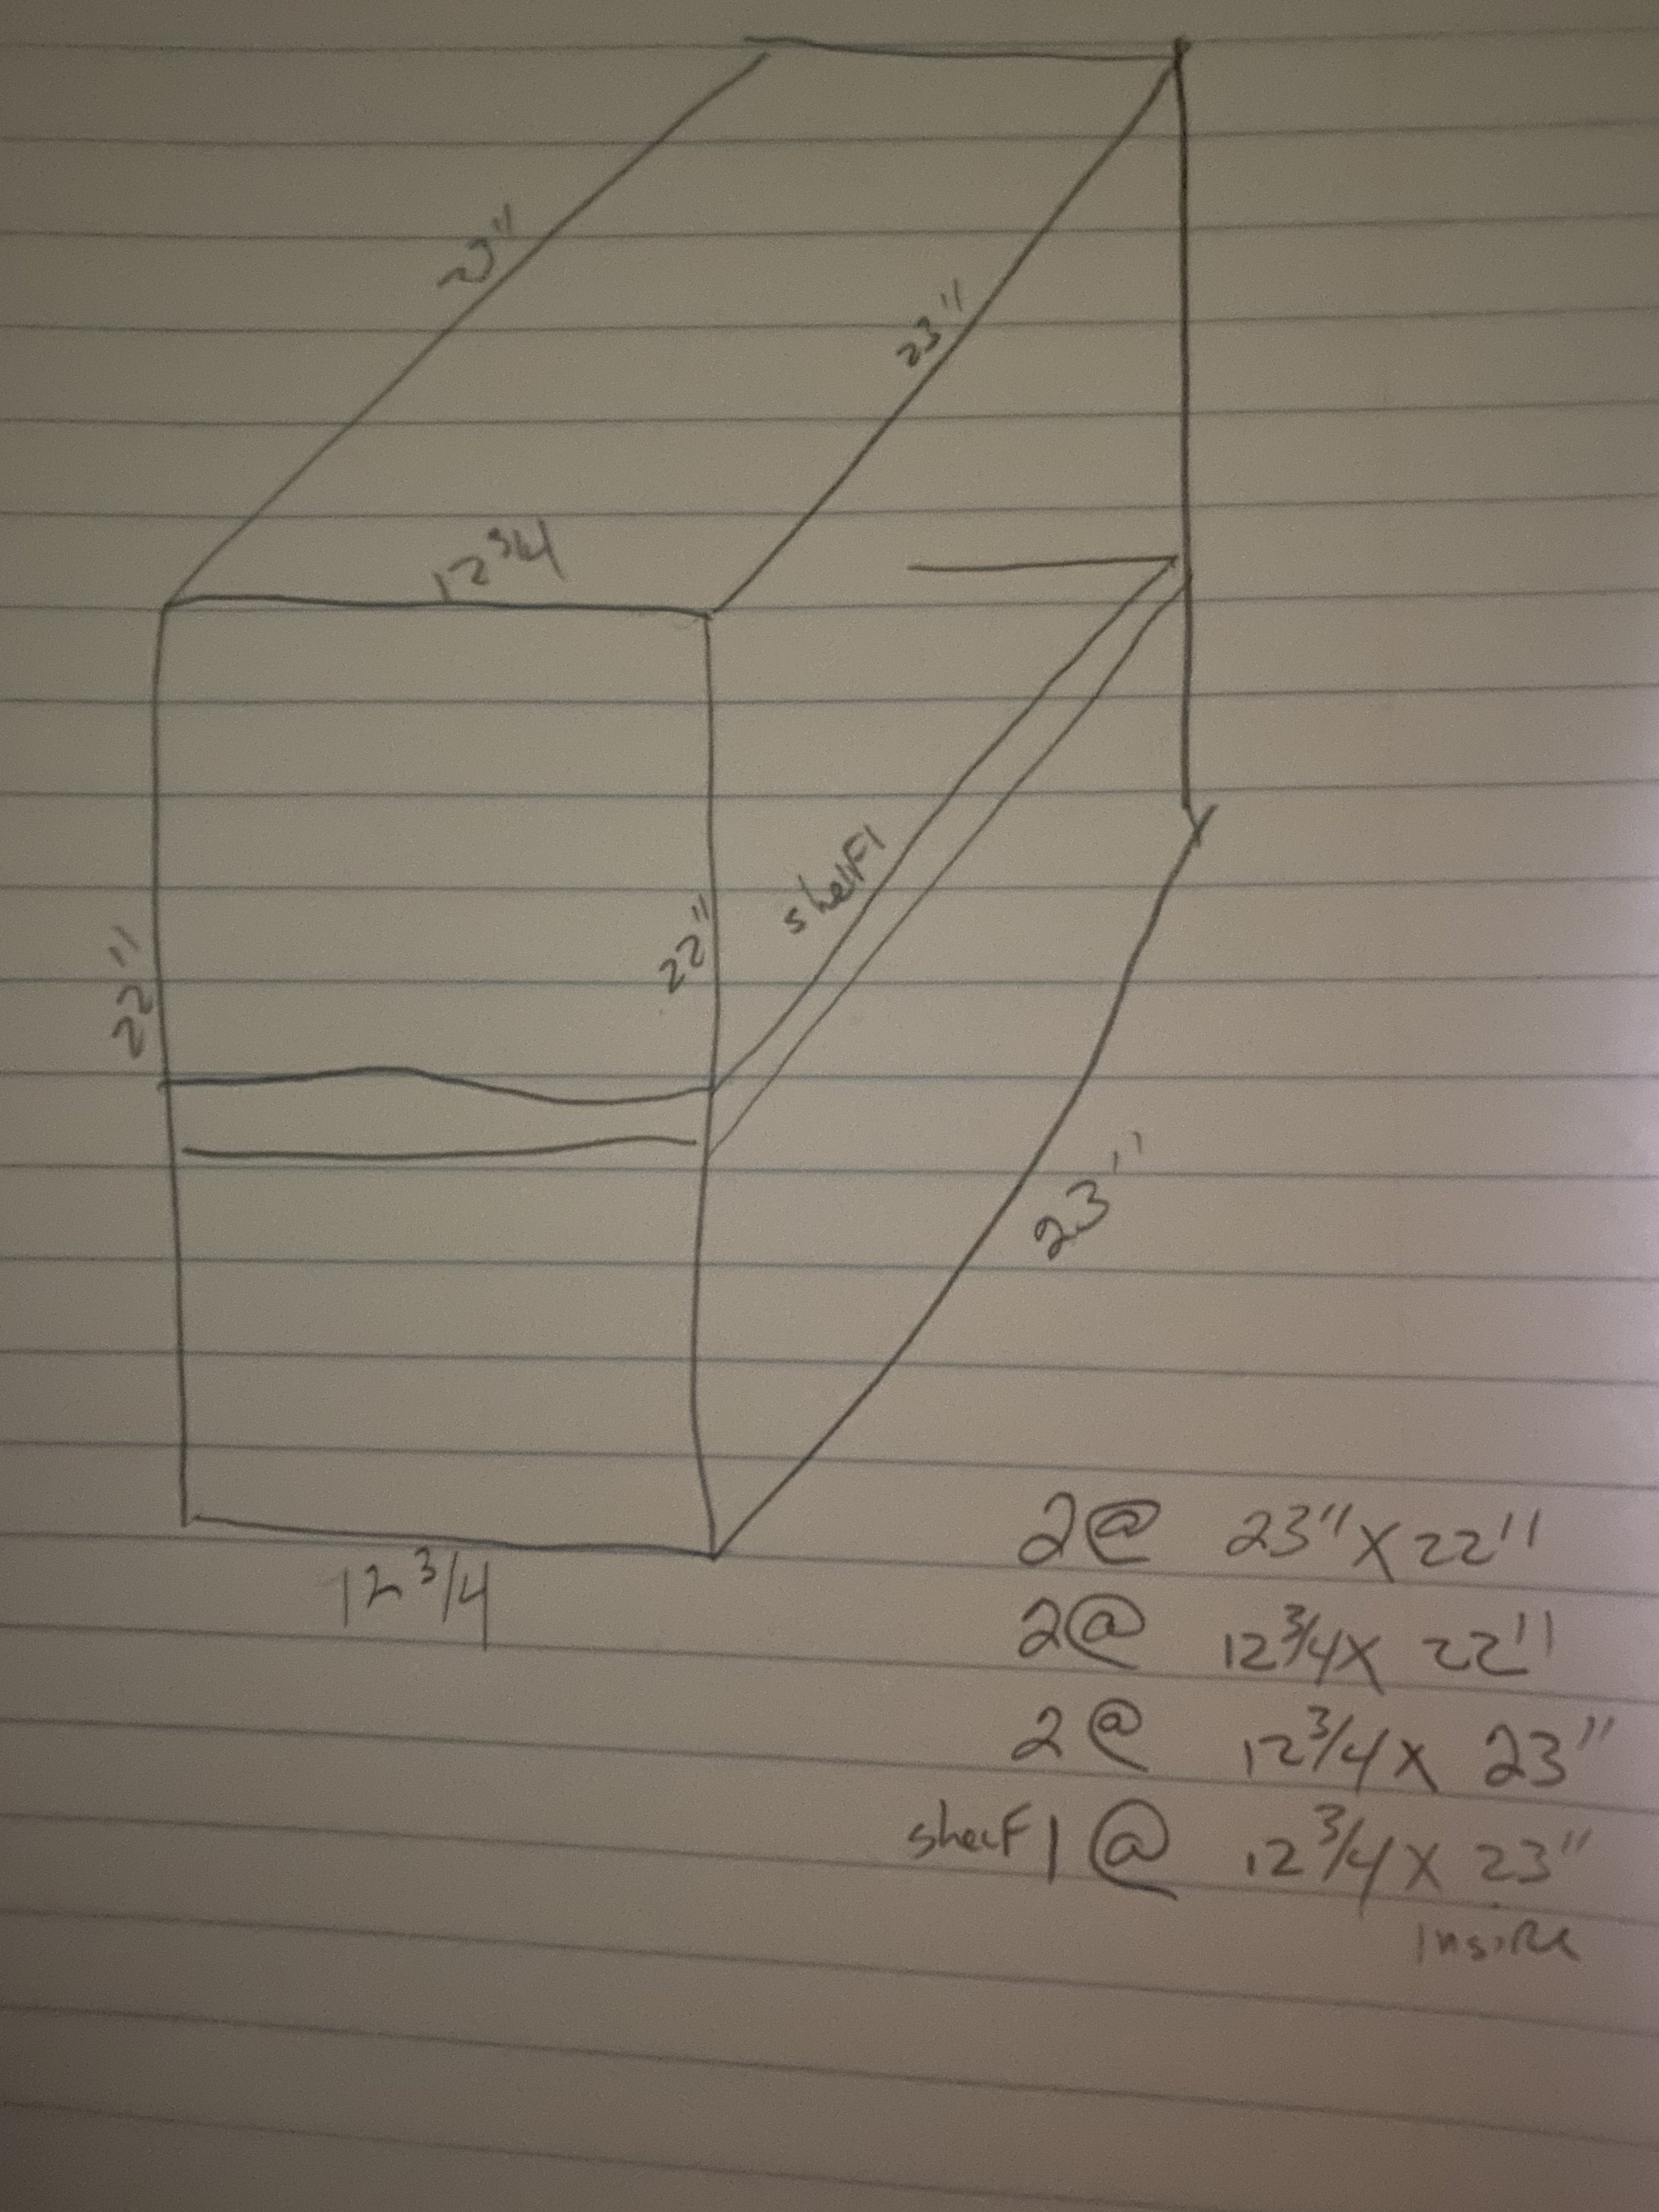
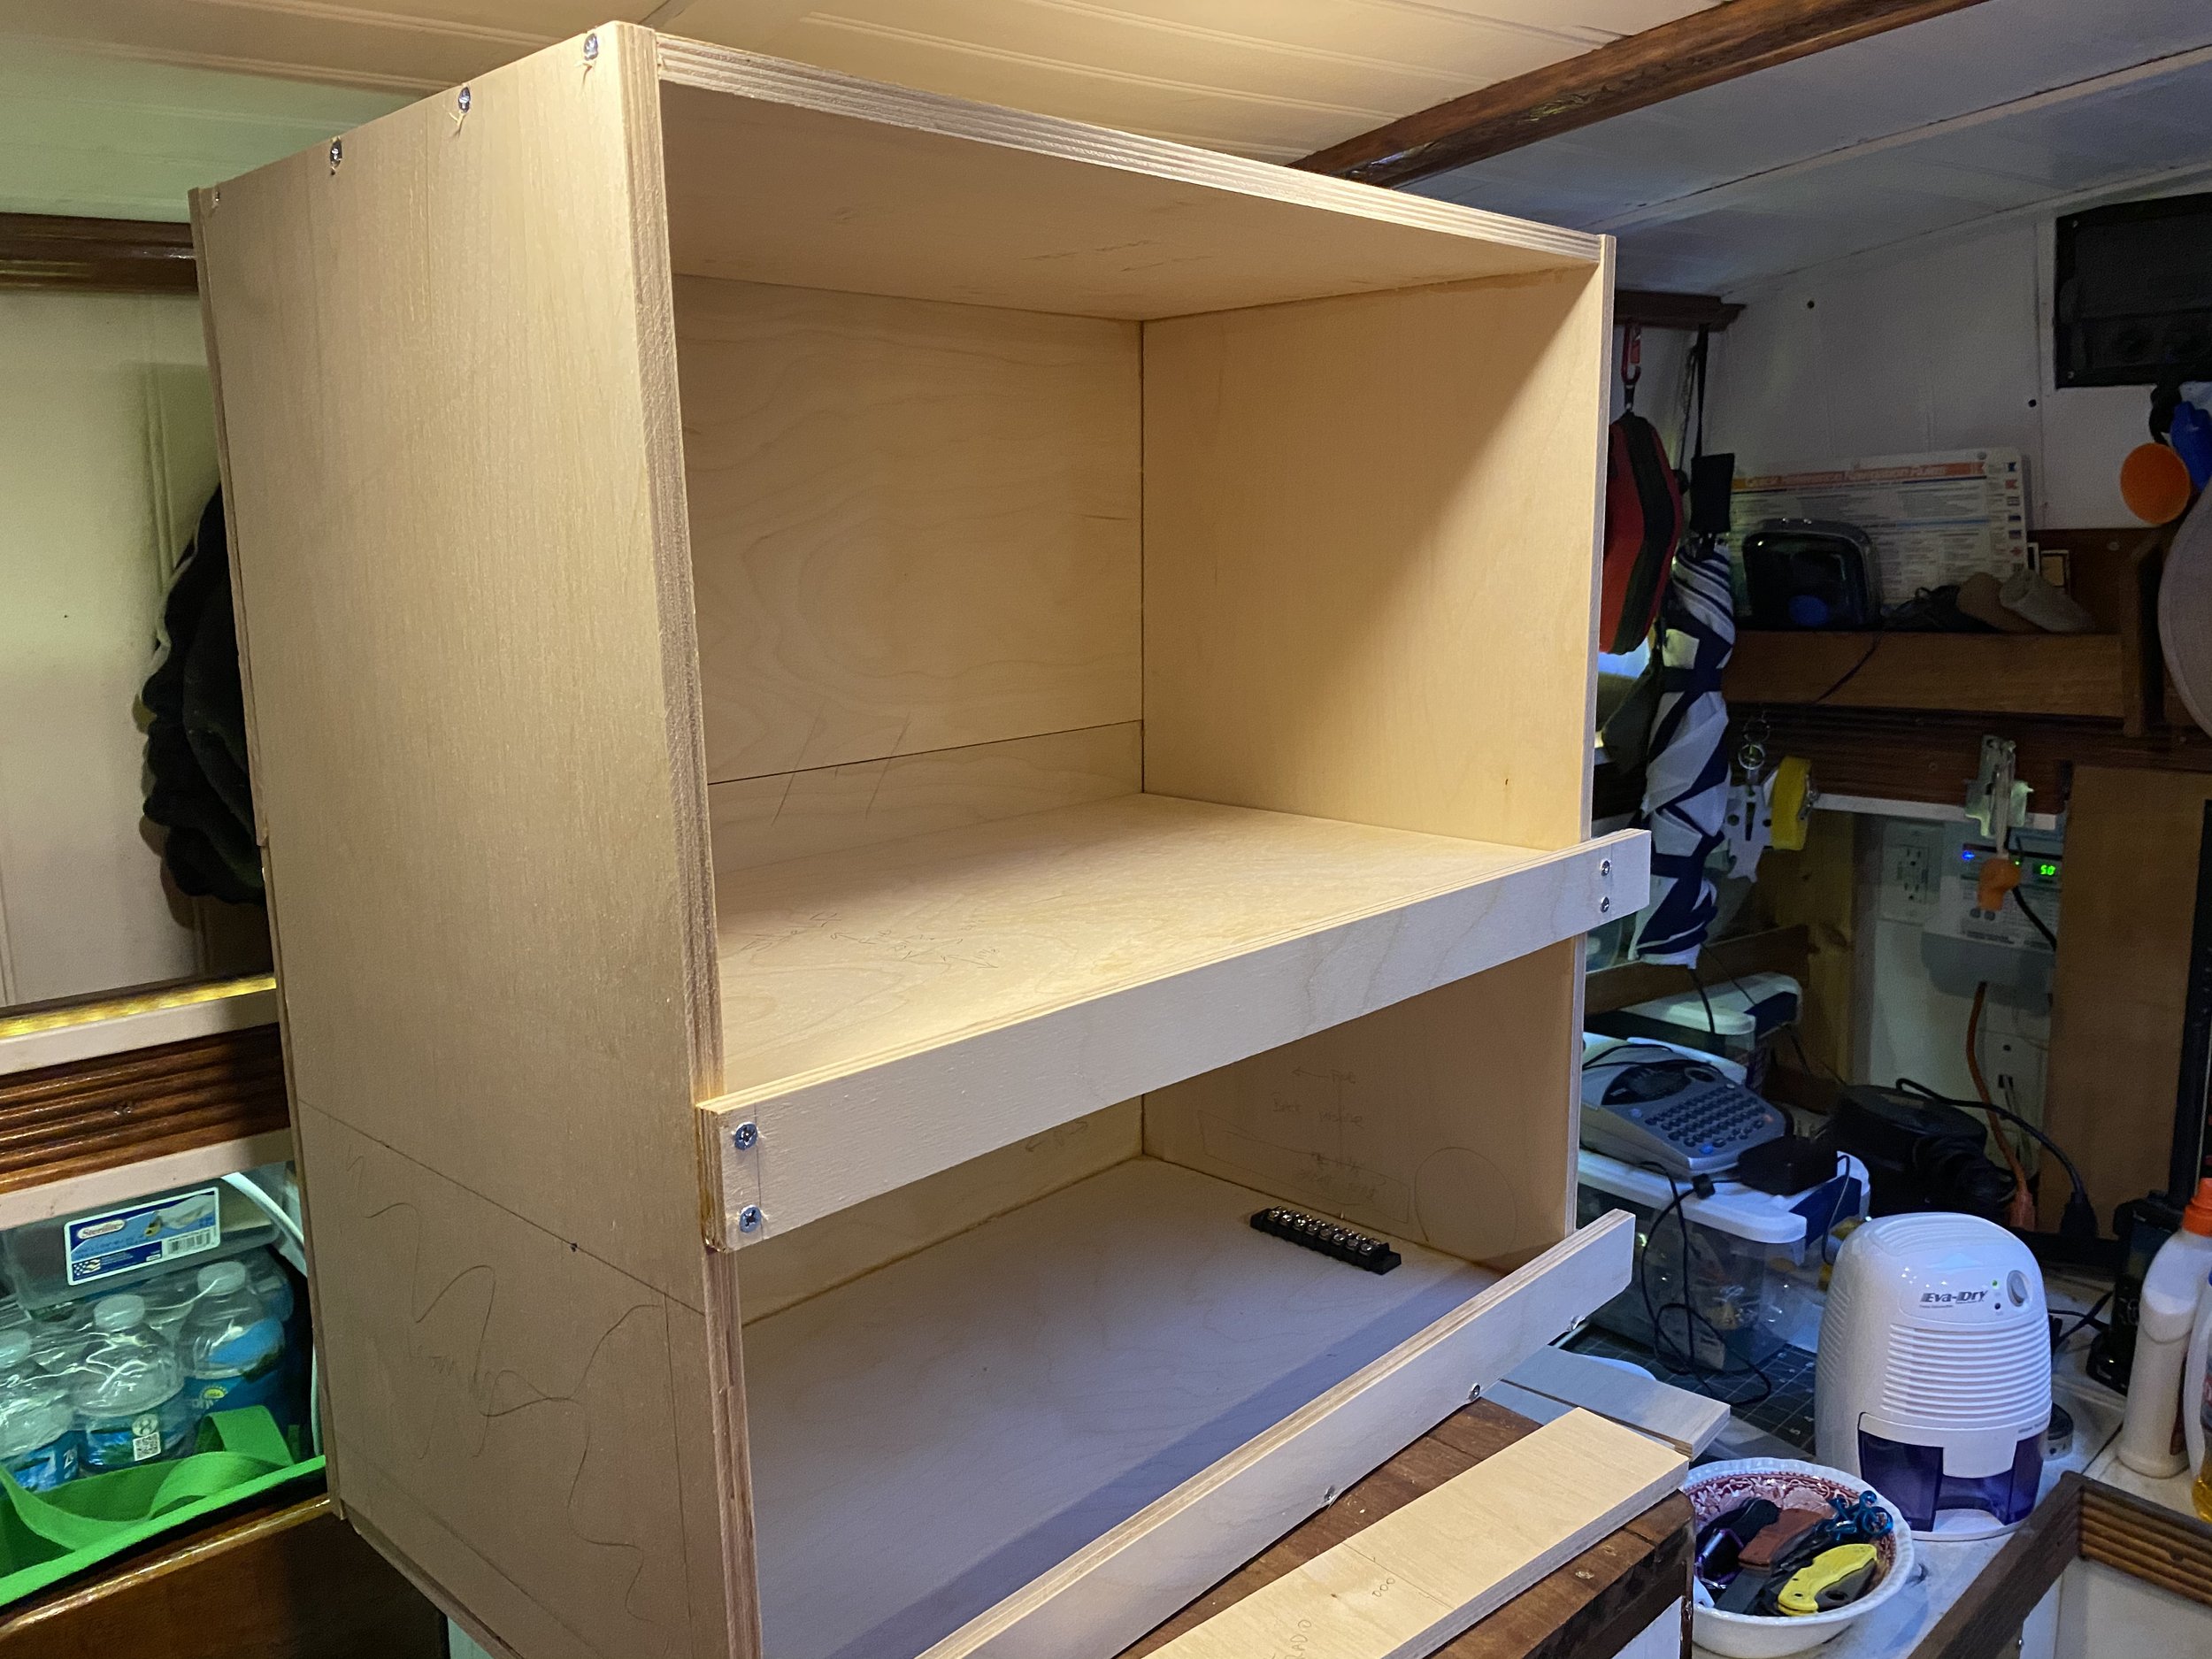
The cabinet is built from 1/2″ x 12″ x 24″ Baltic Birch Plywood and 1/2″ #8 stainless steel screws…and lots of wood glue.
I took my time with the design. I wanted to live with it for a bit and make good decisions about the location and features before charging ahead.
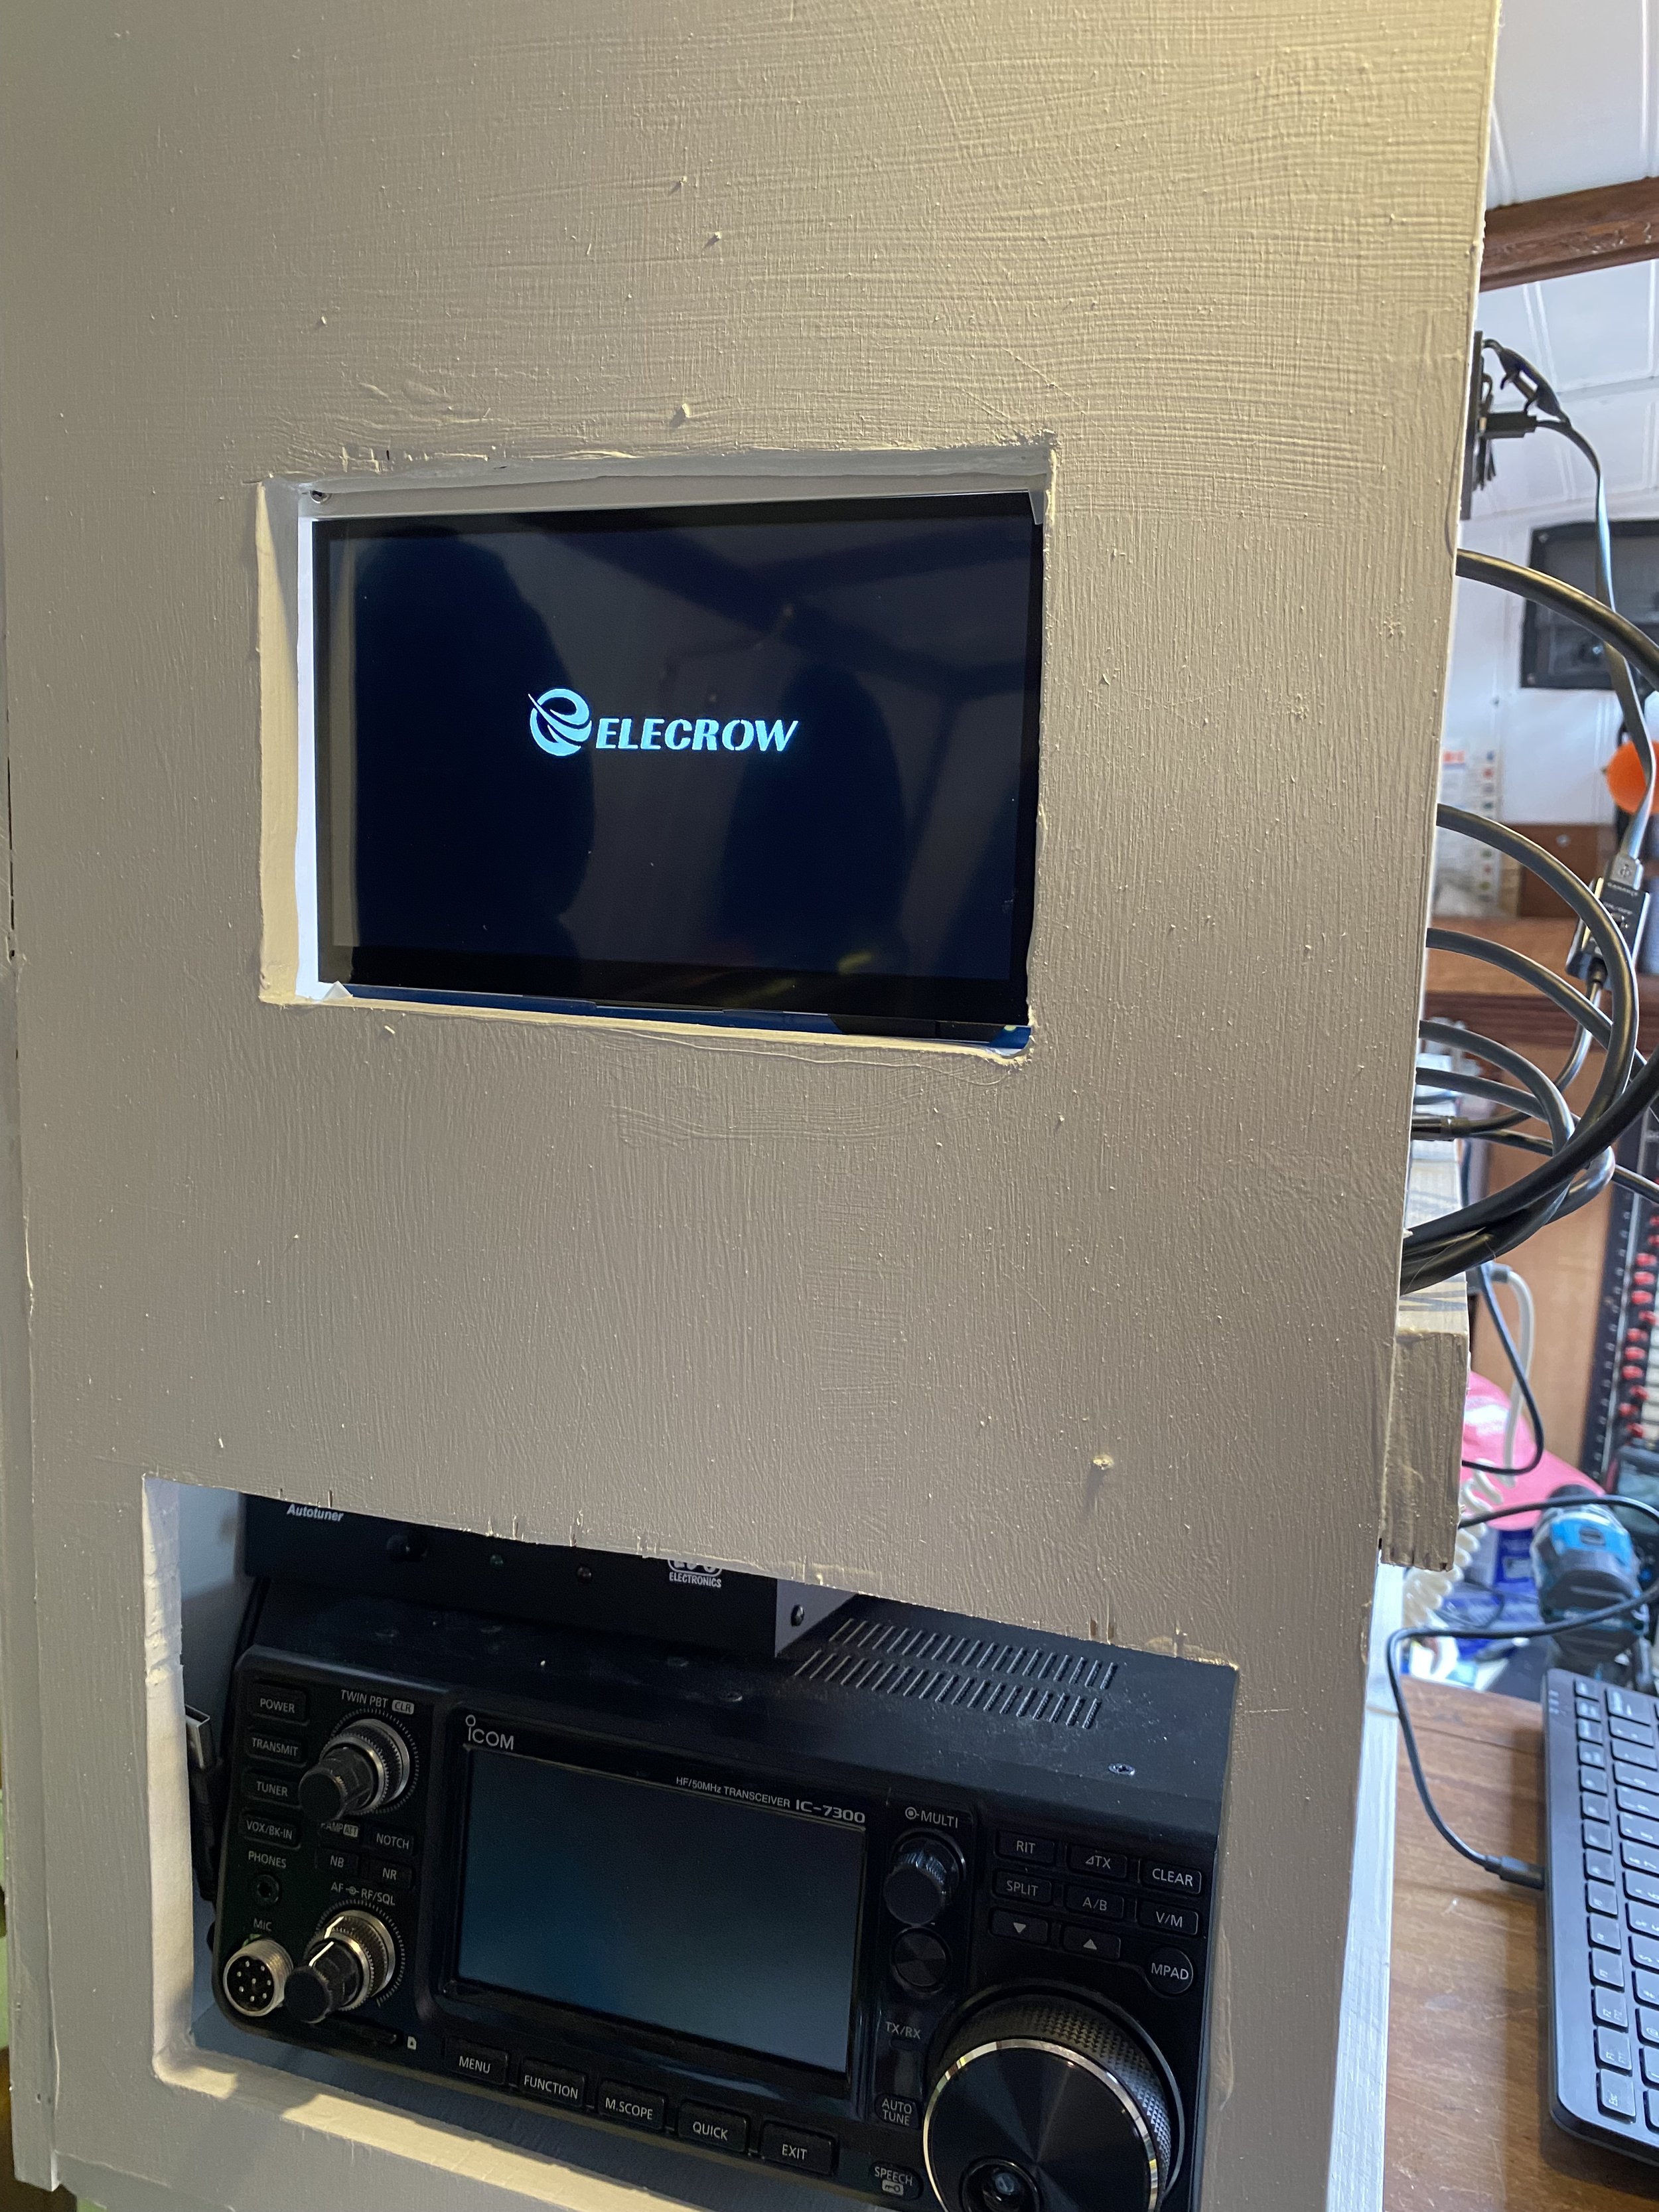
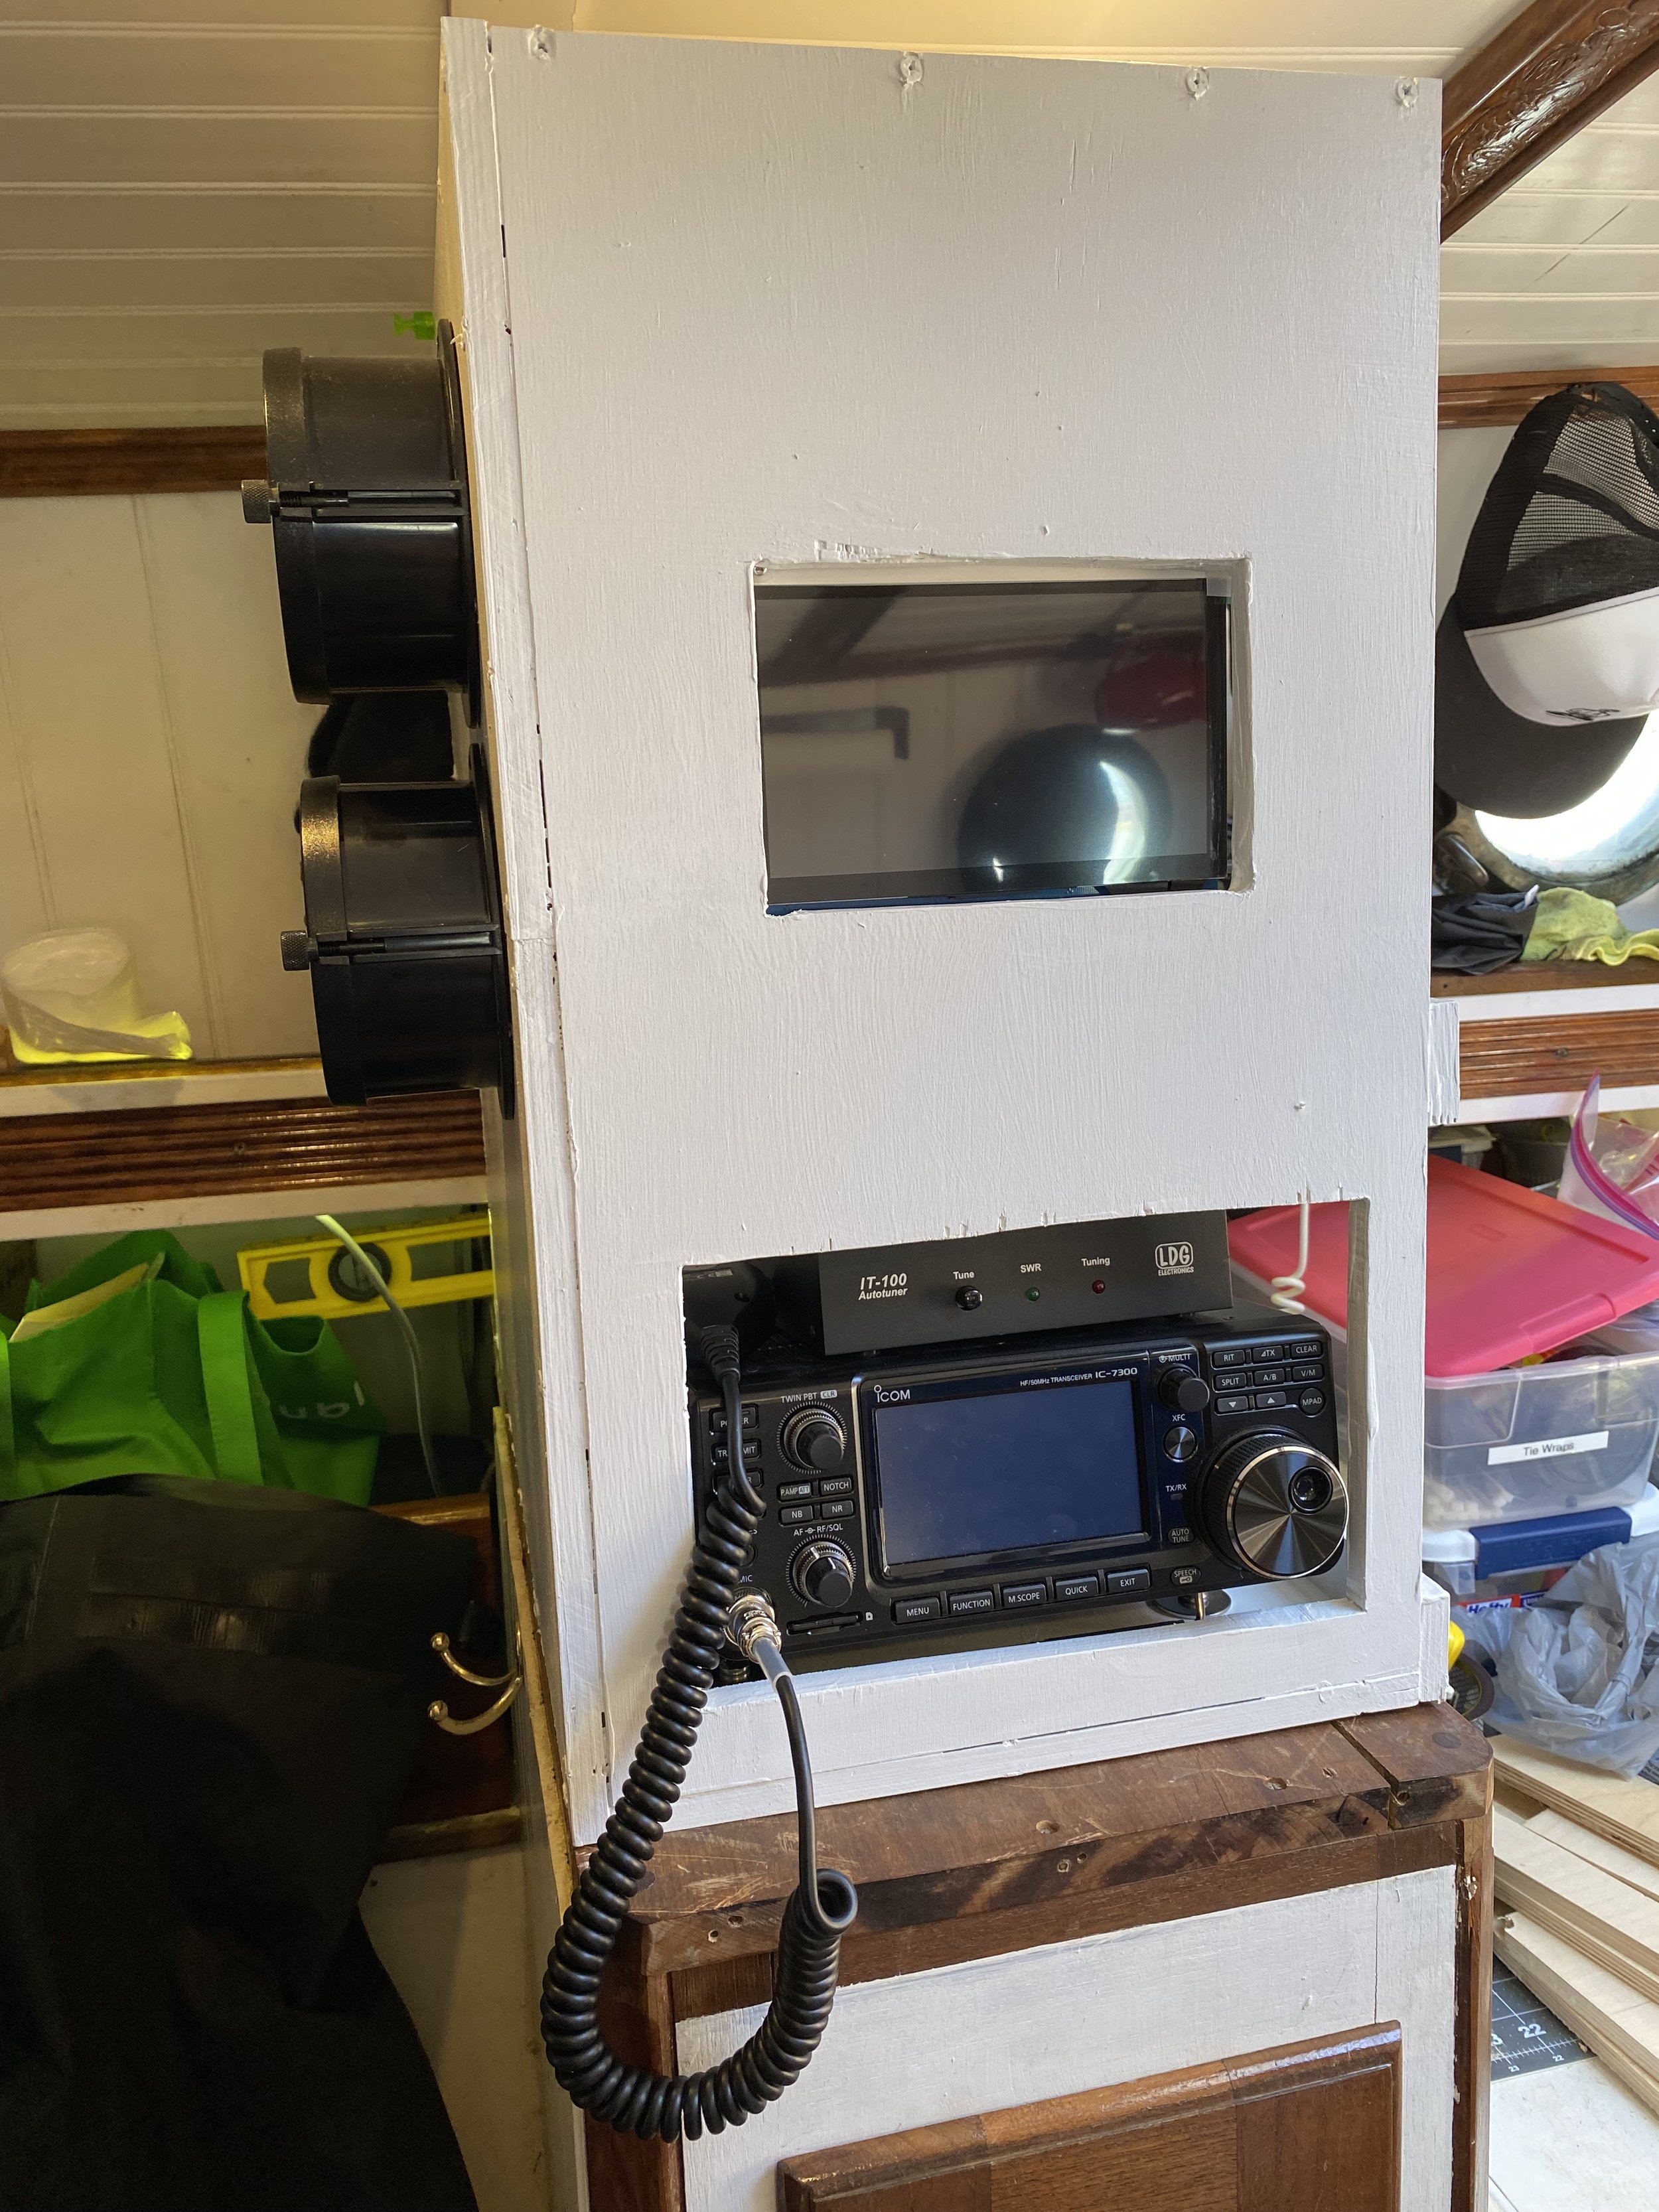
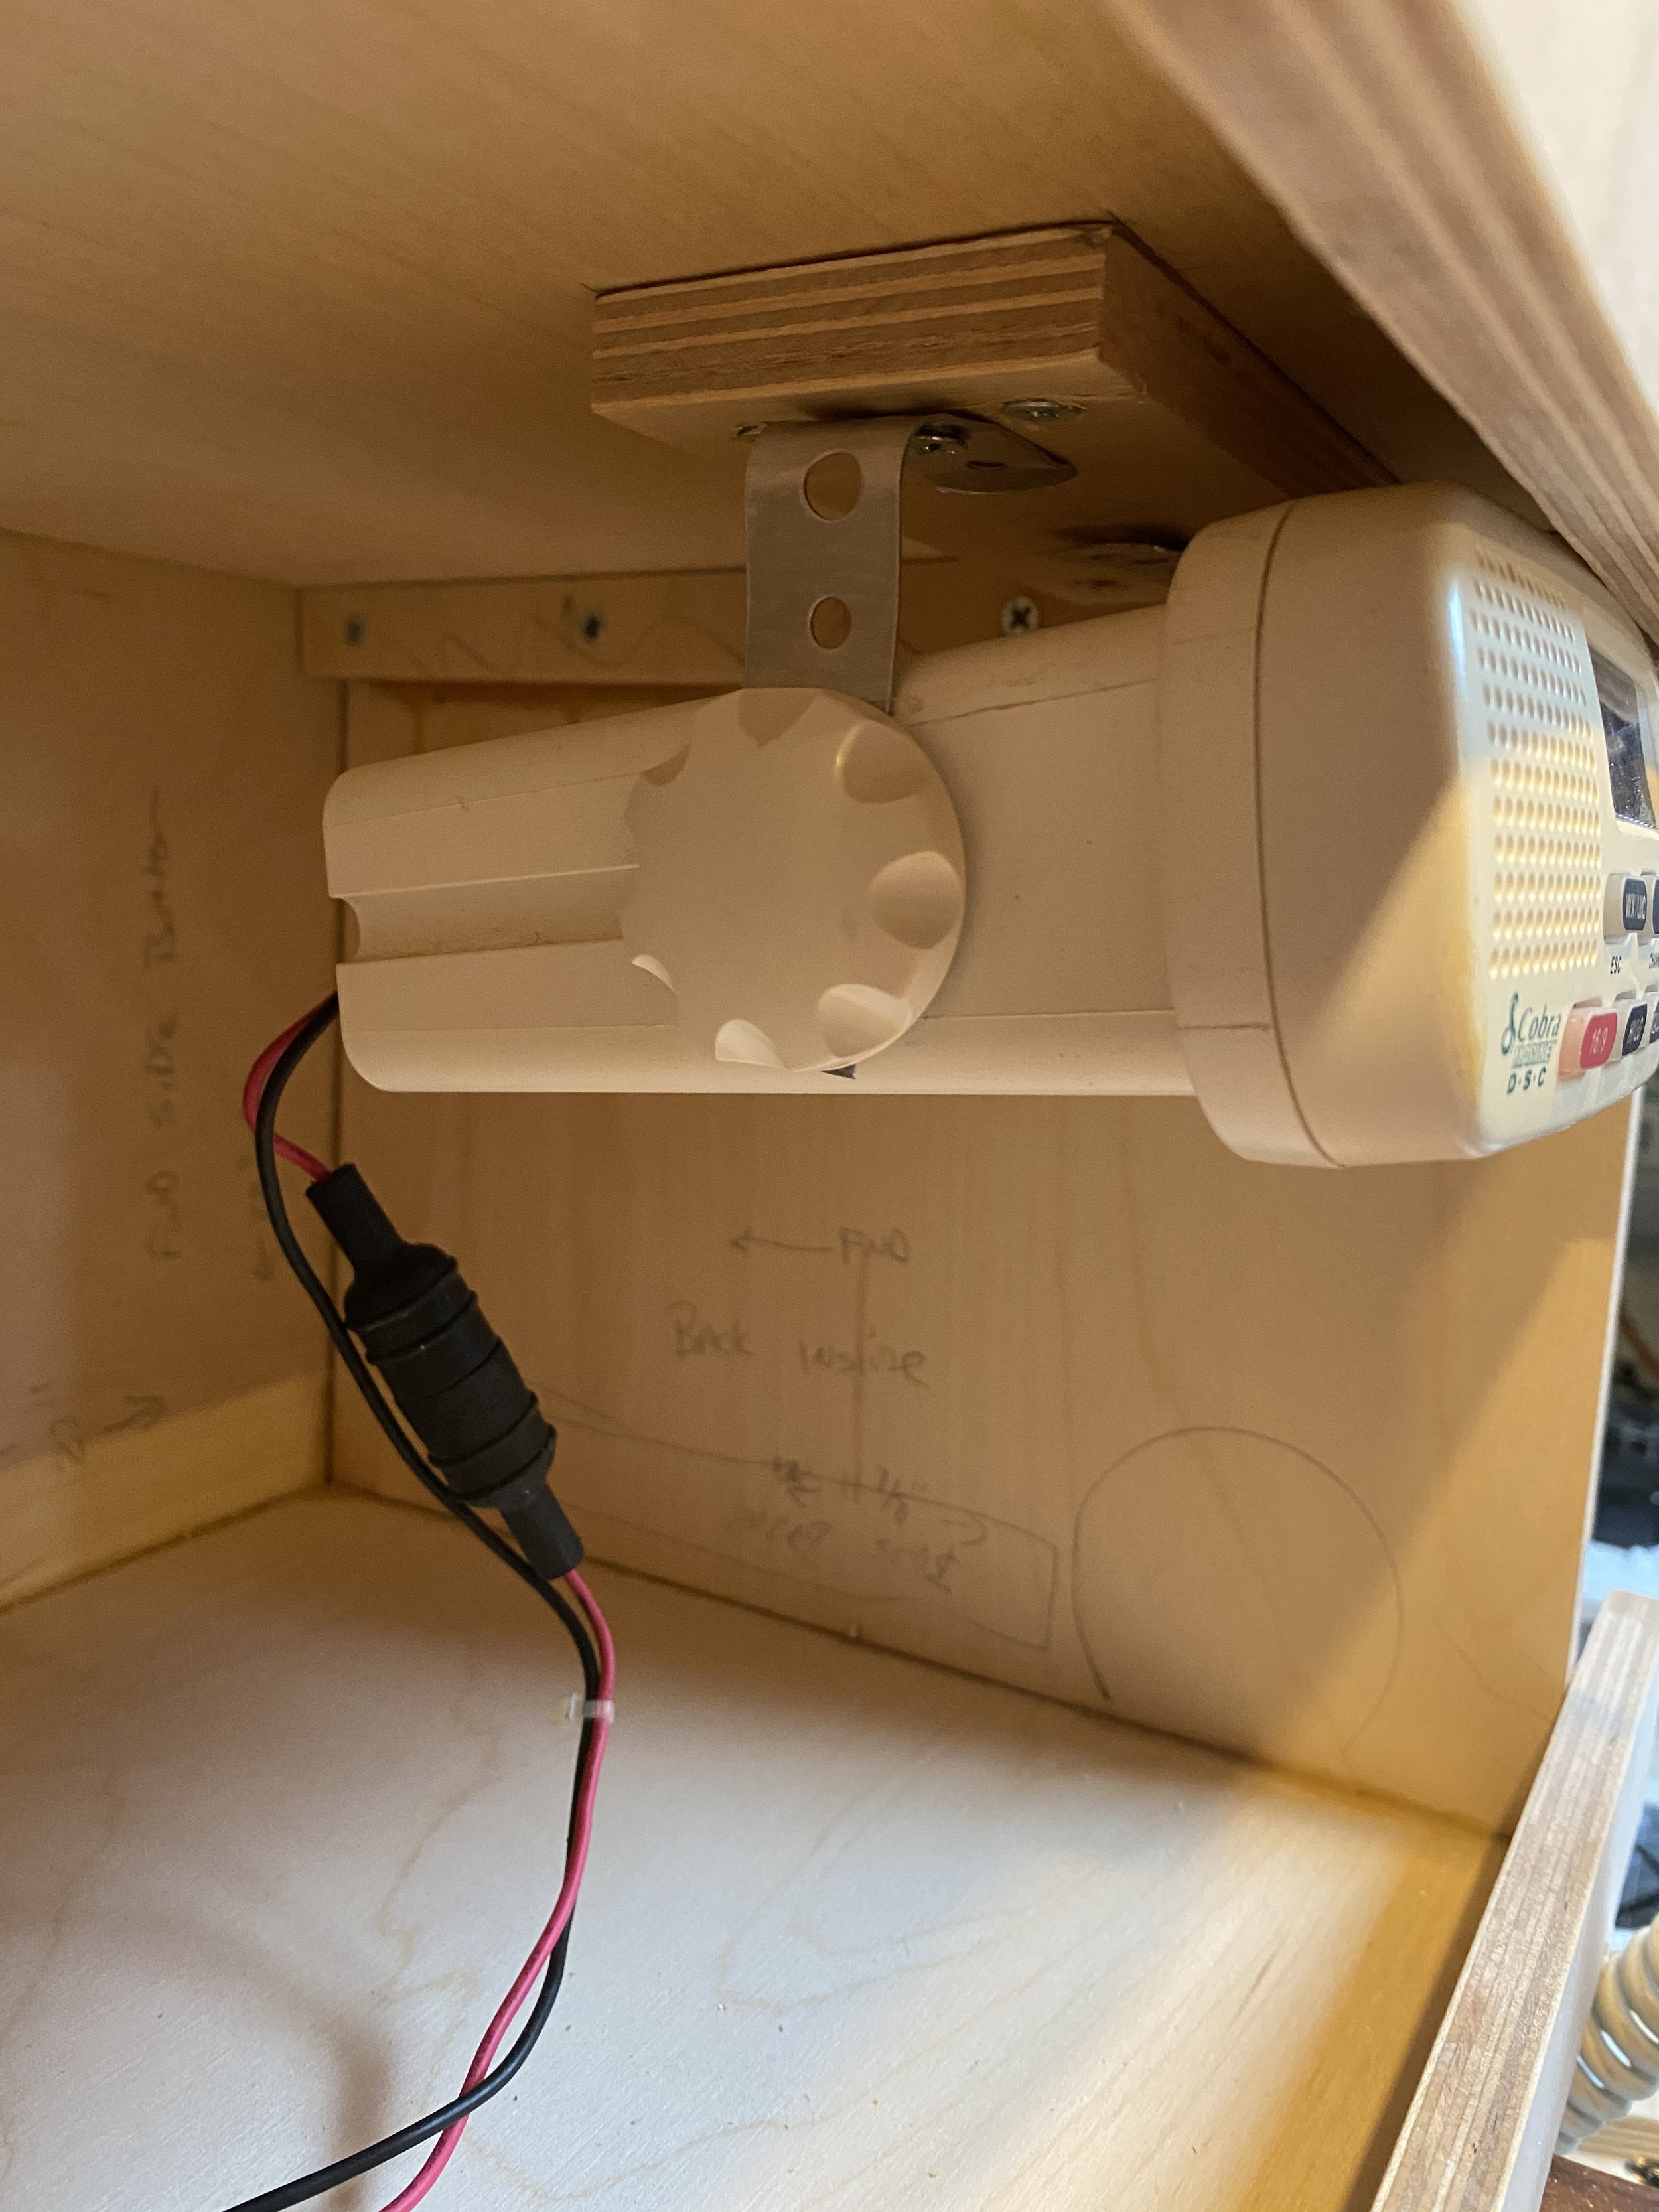
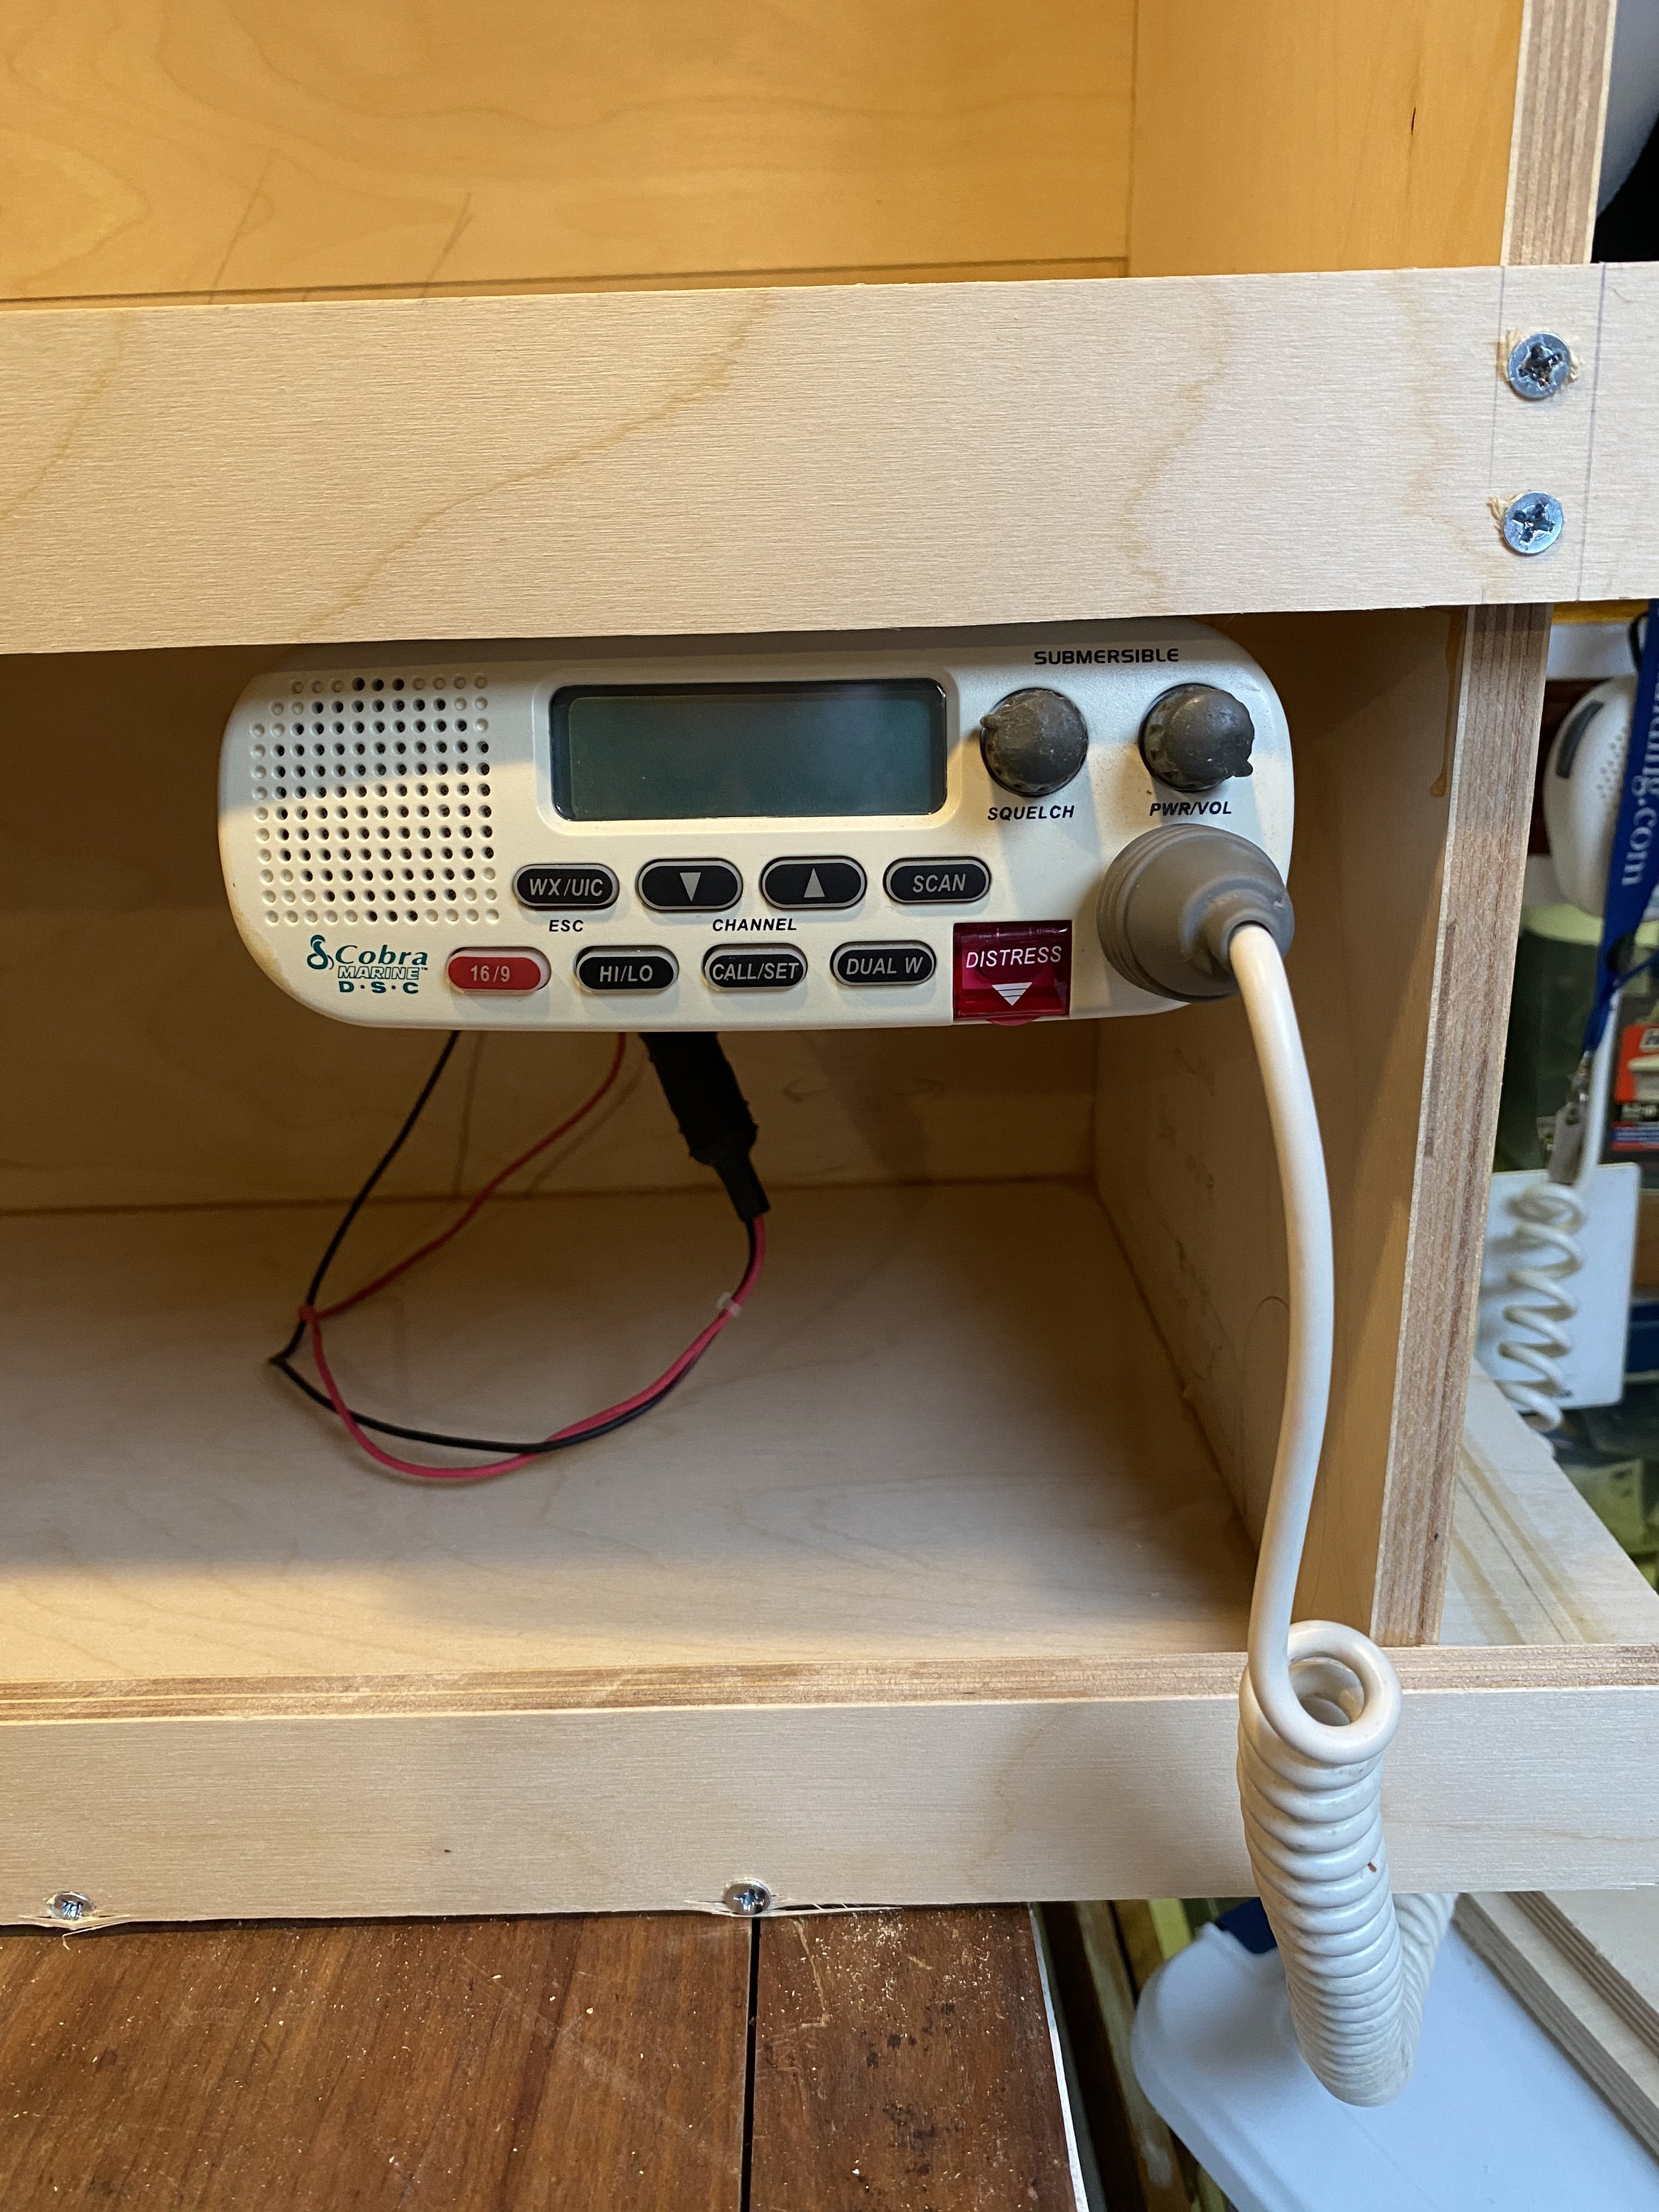
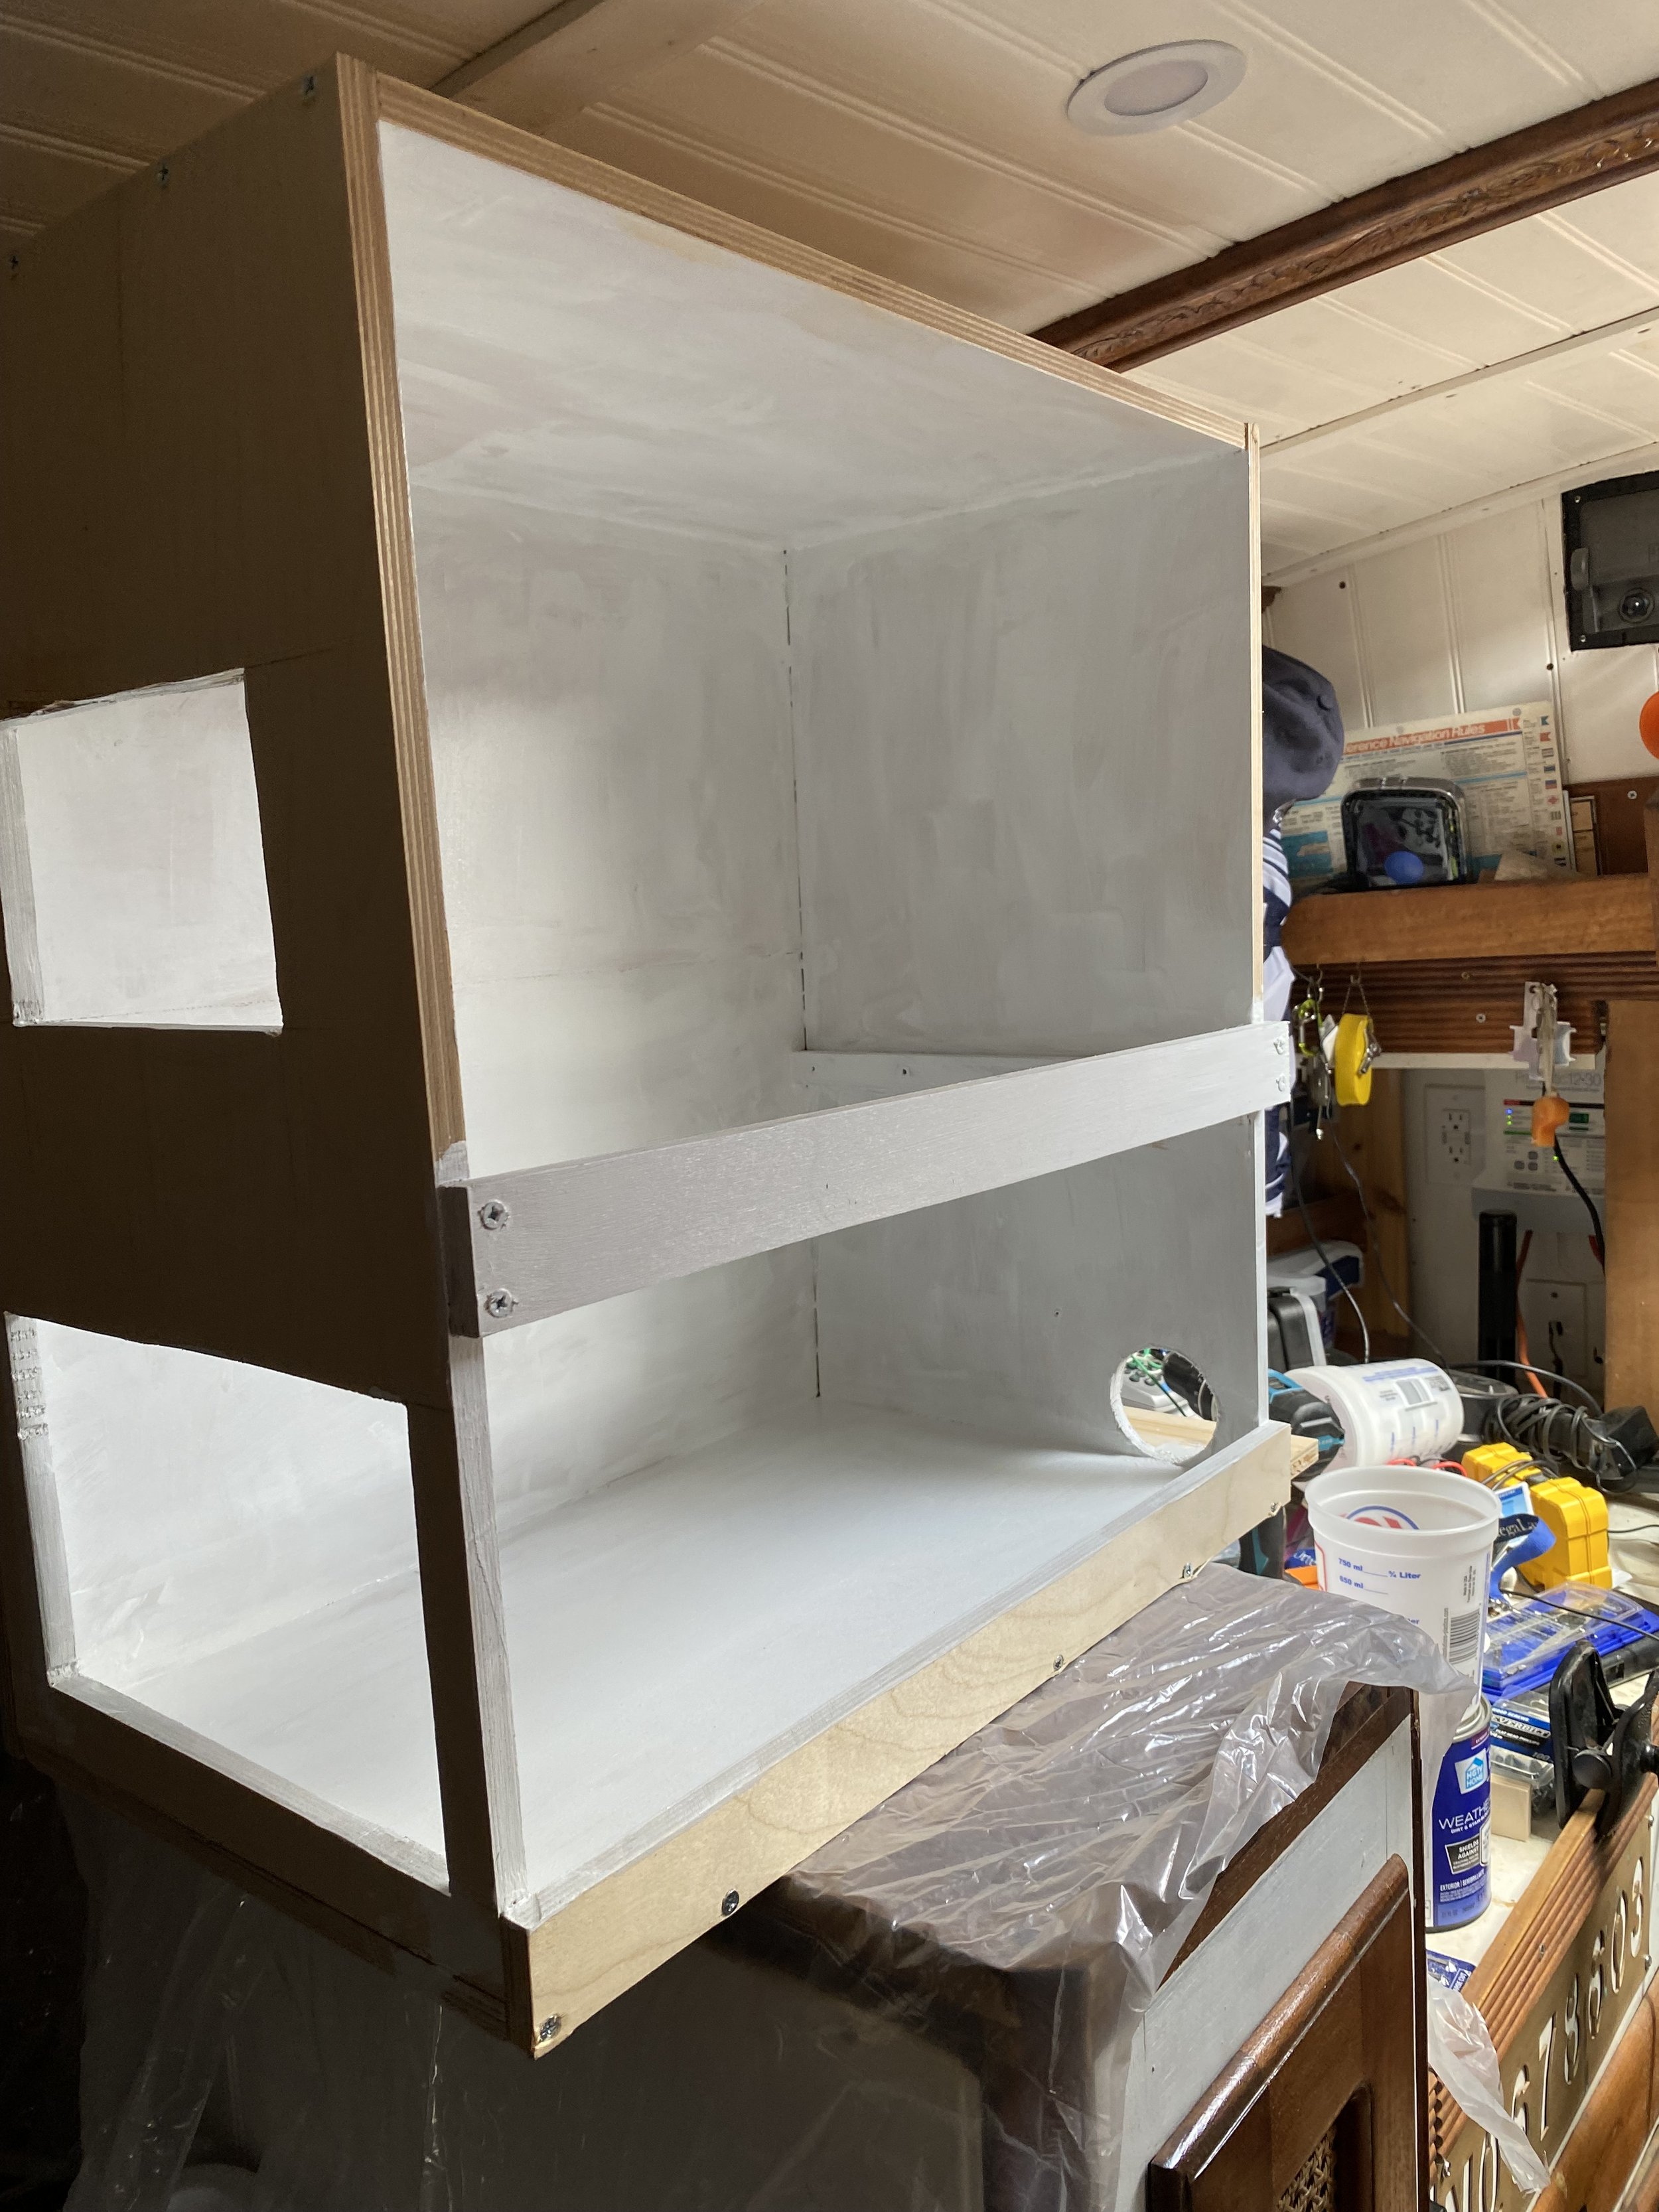
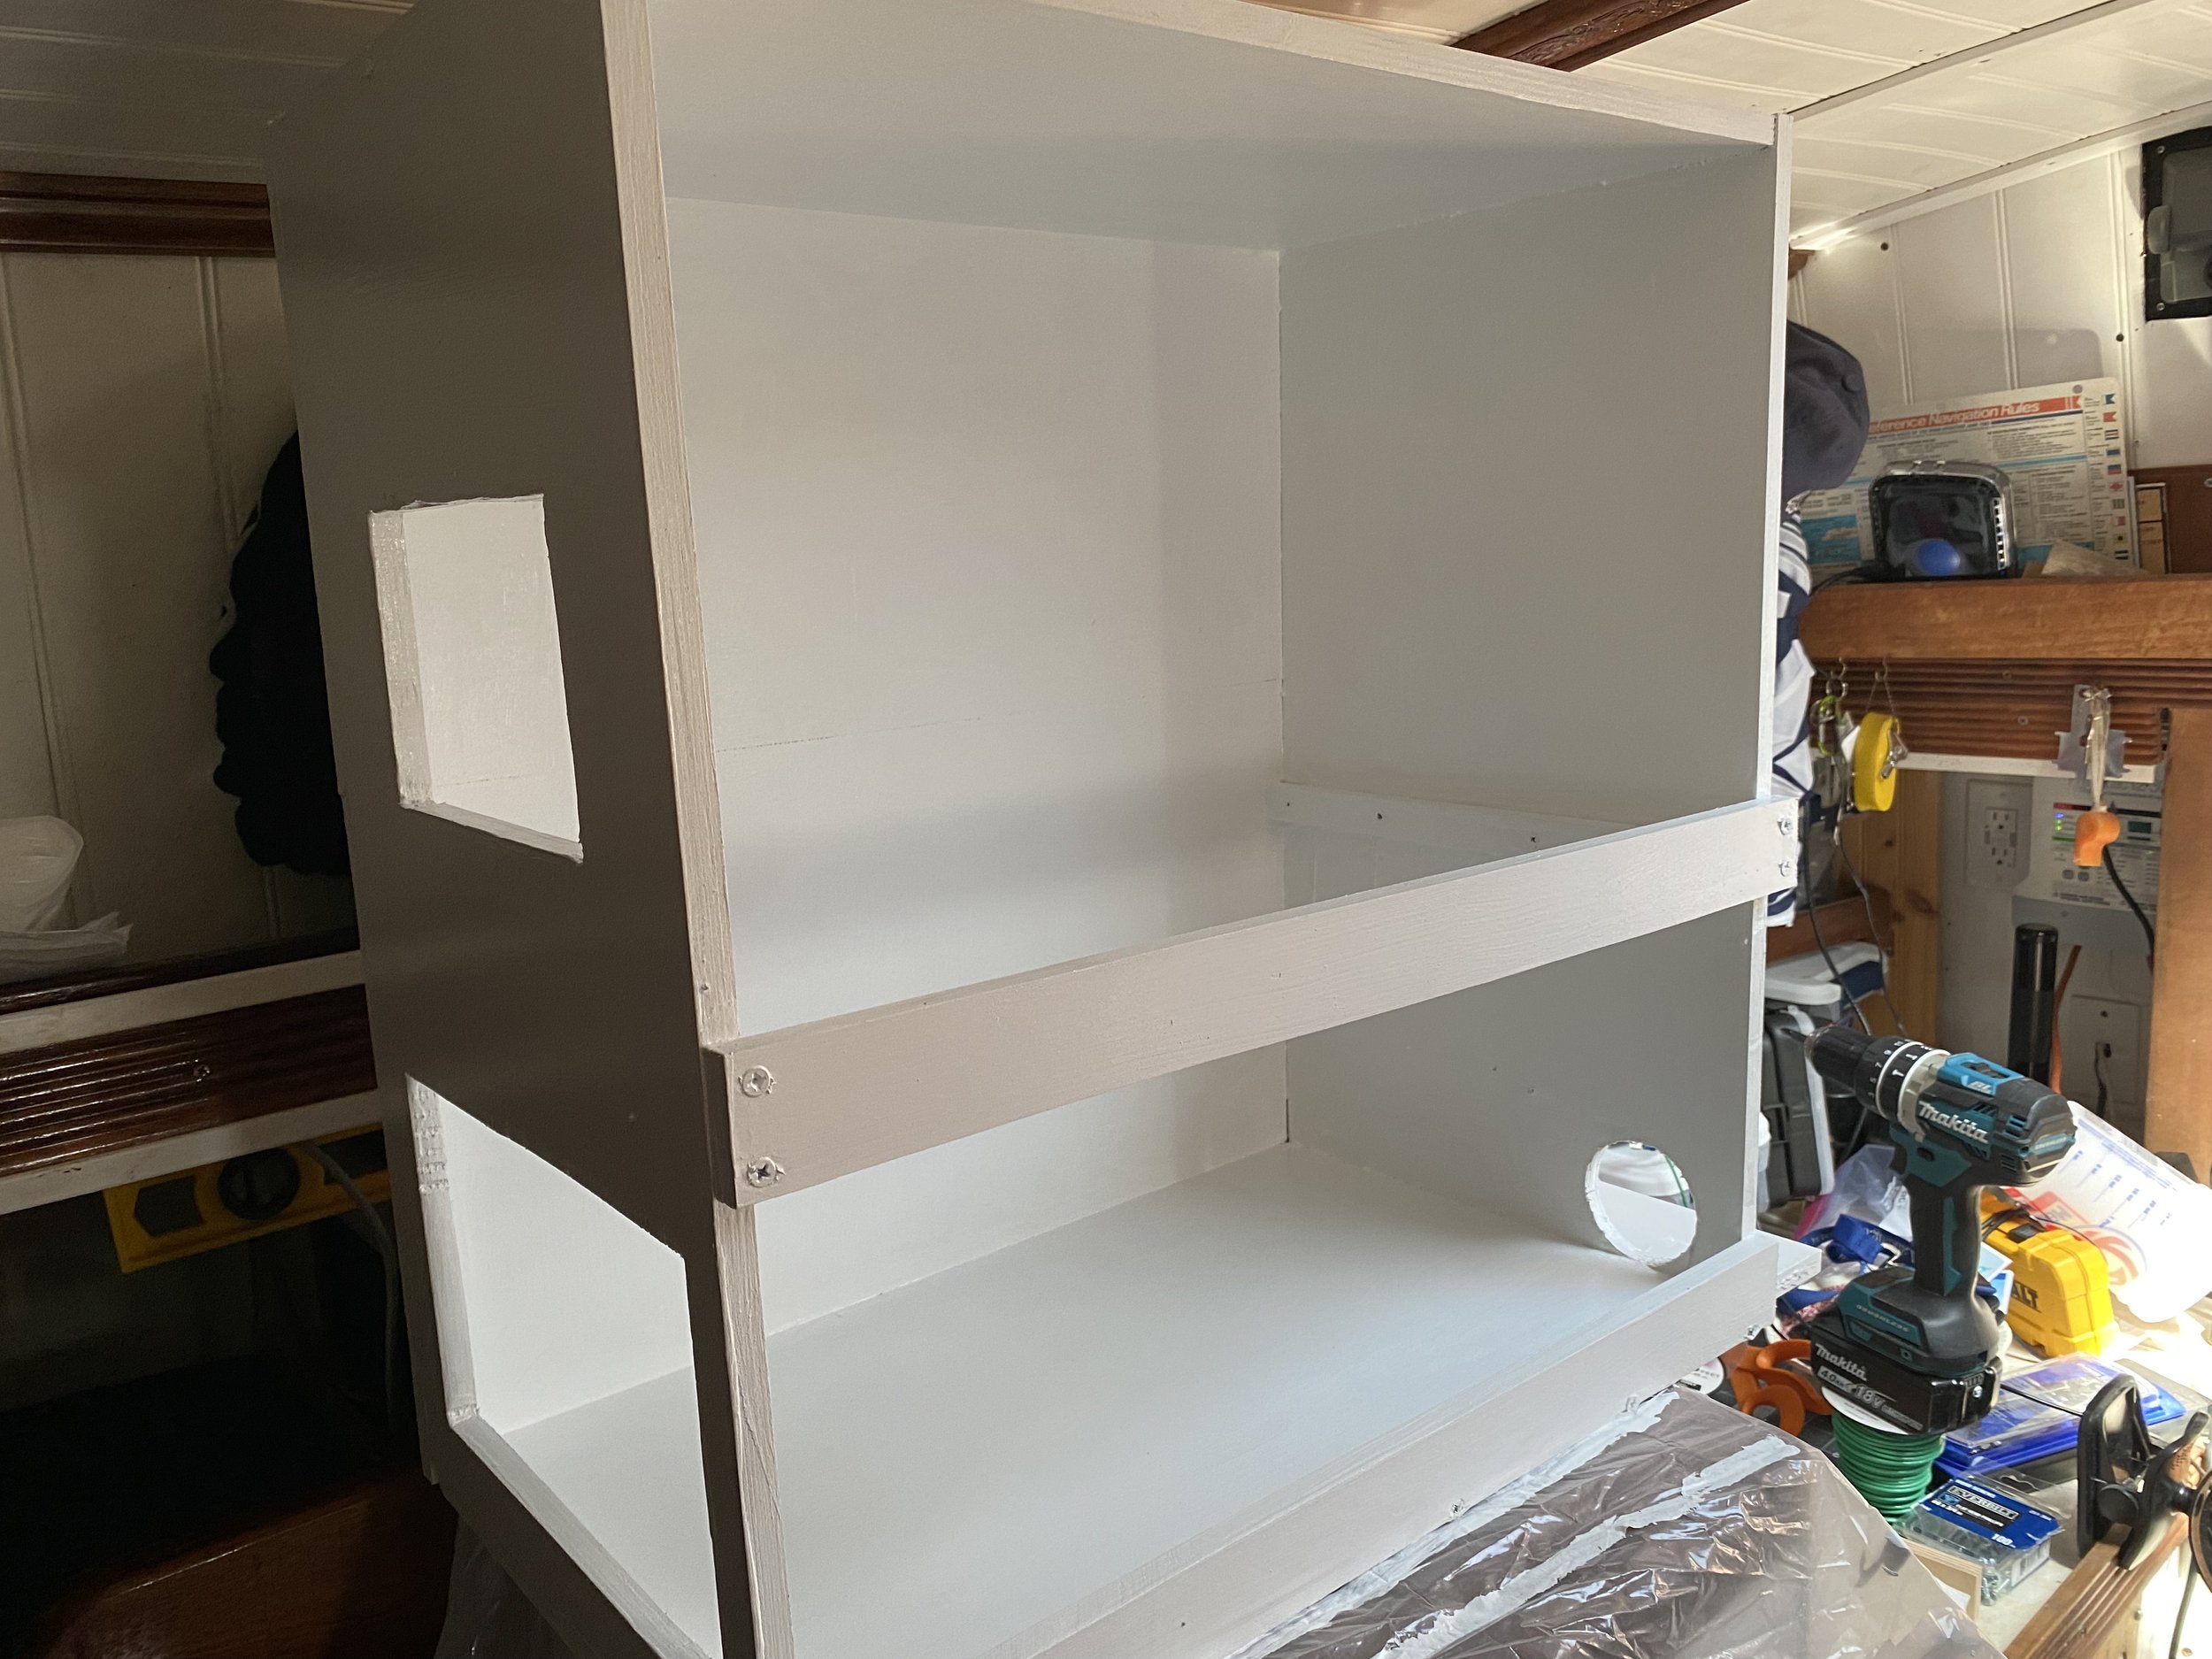
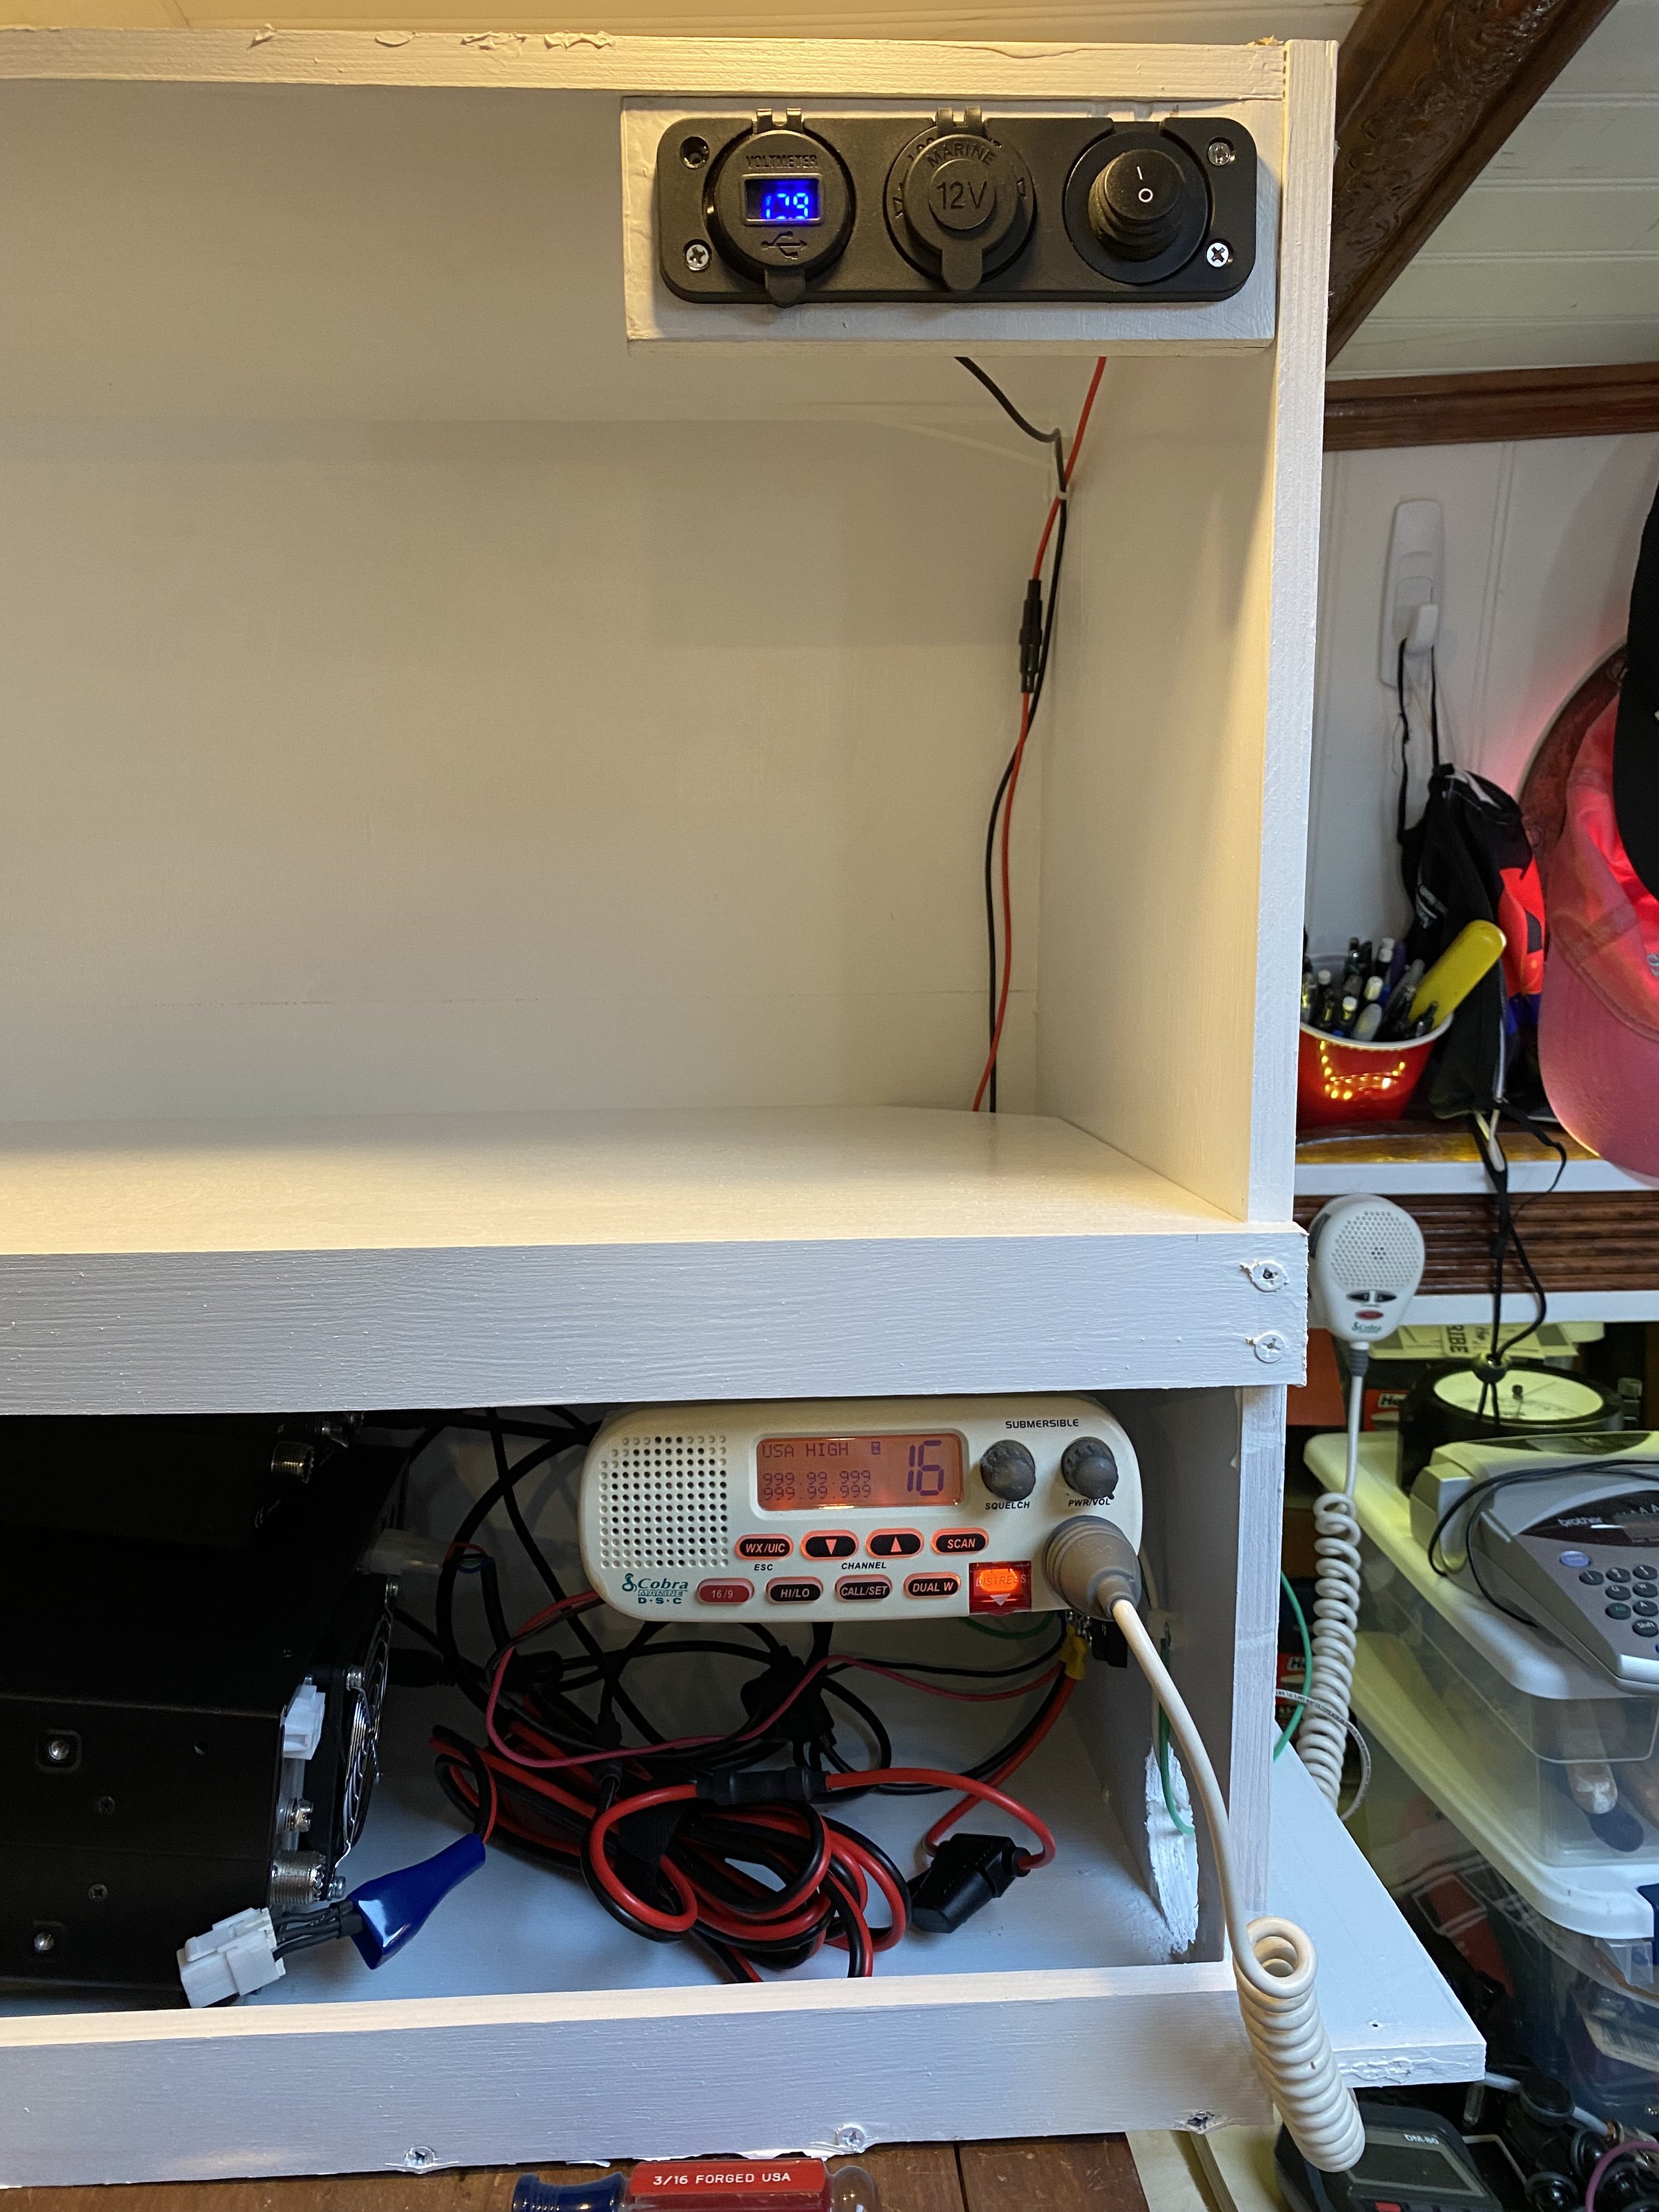
I settled on a two shelf design with power and antenna coming in the bottom at the back. I mounted the old marine radio under the shelf to leave the top shelf for the raspberrypi and a new AIS system.

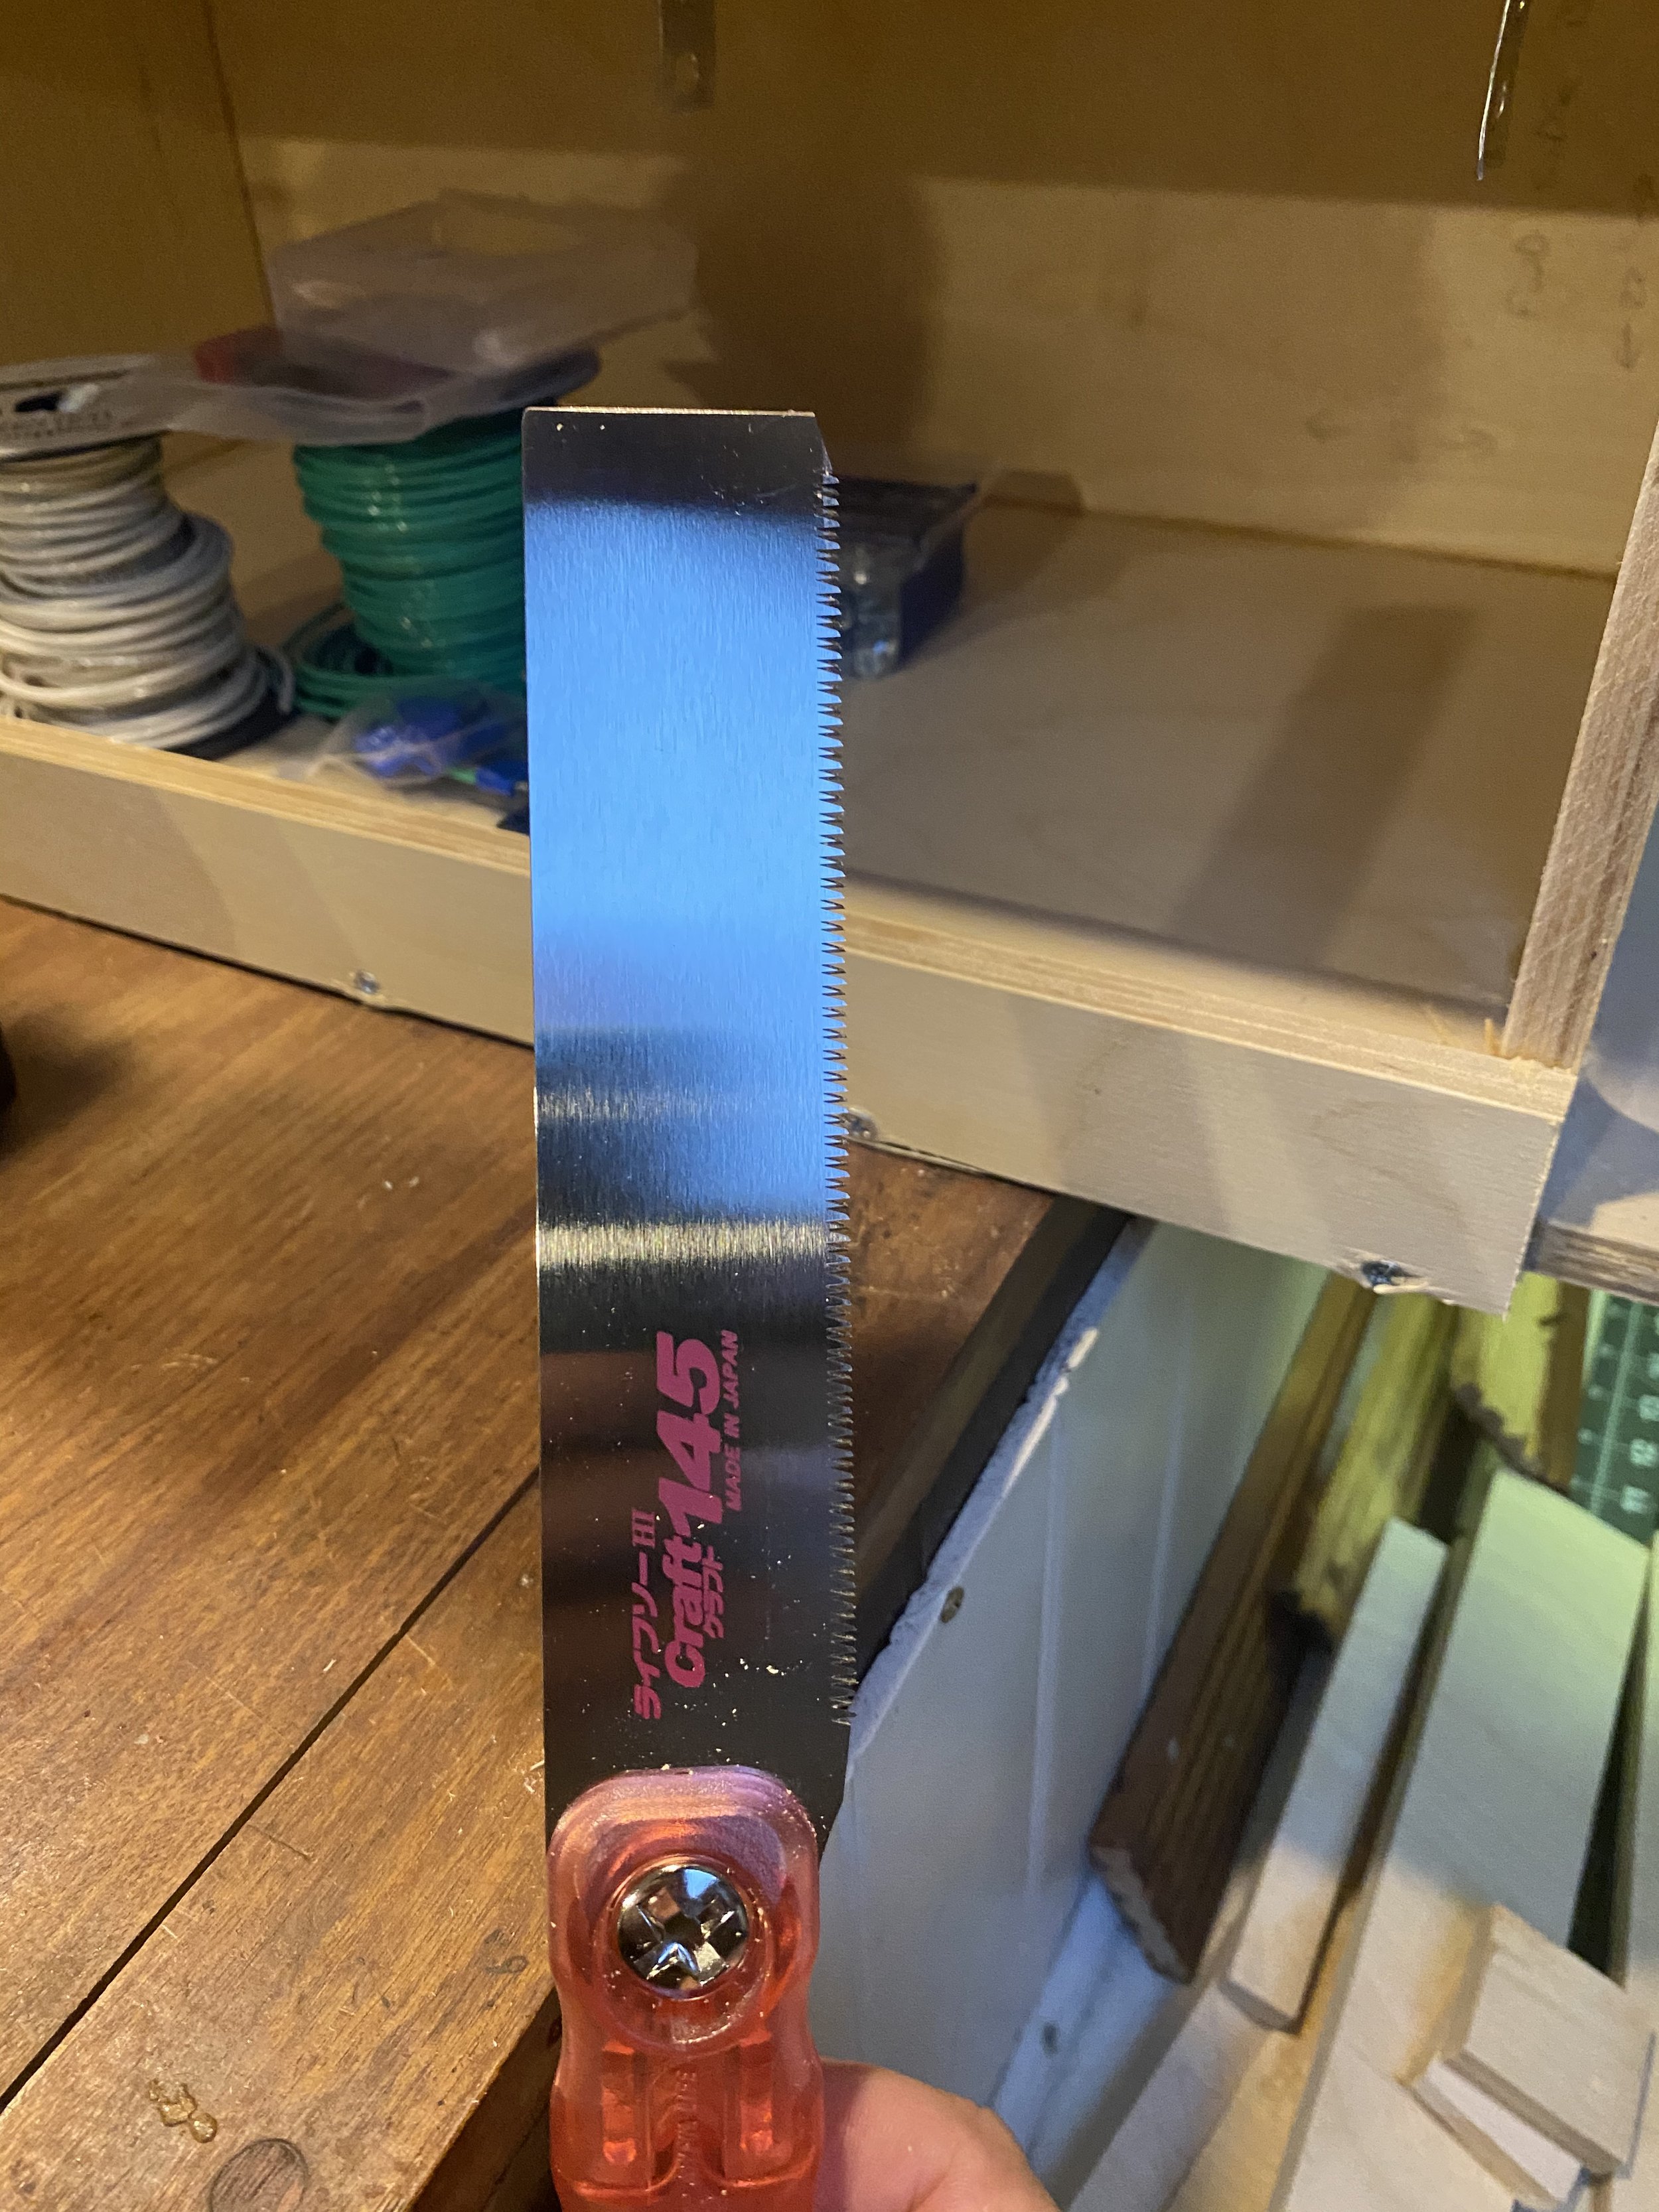
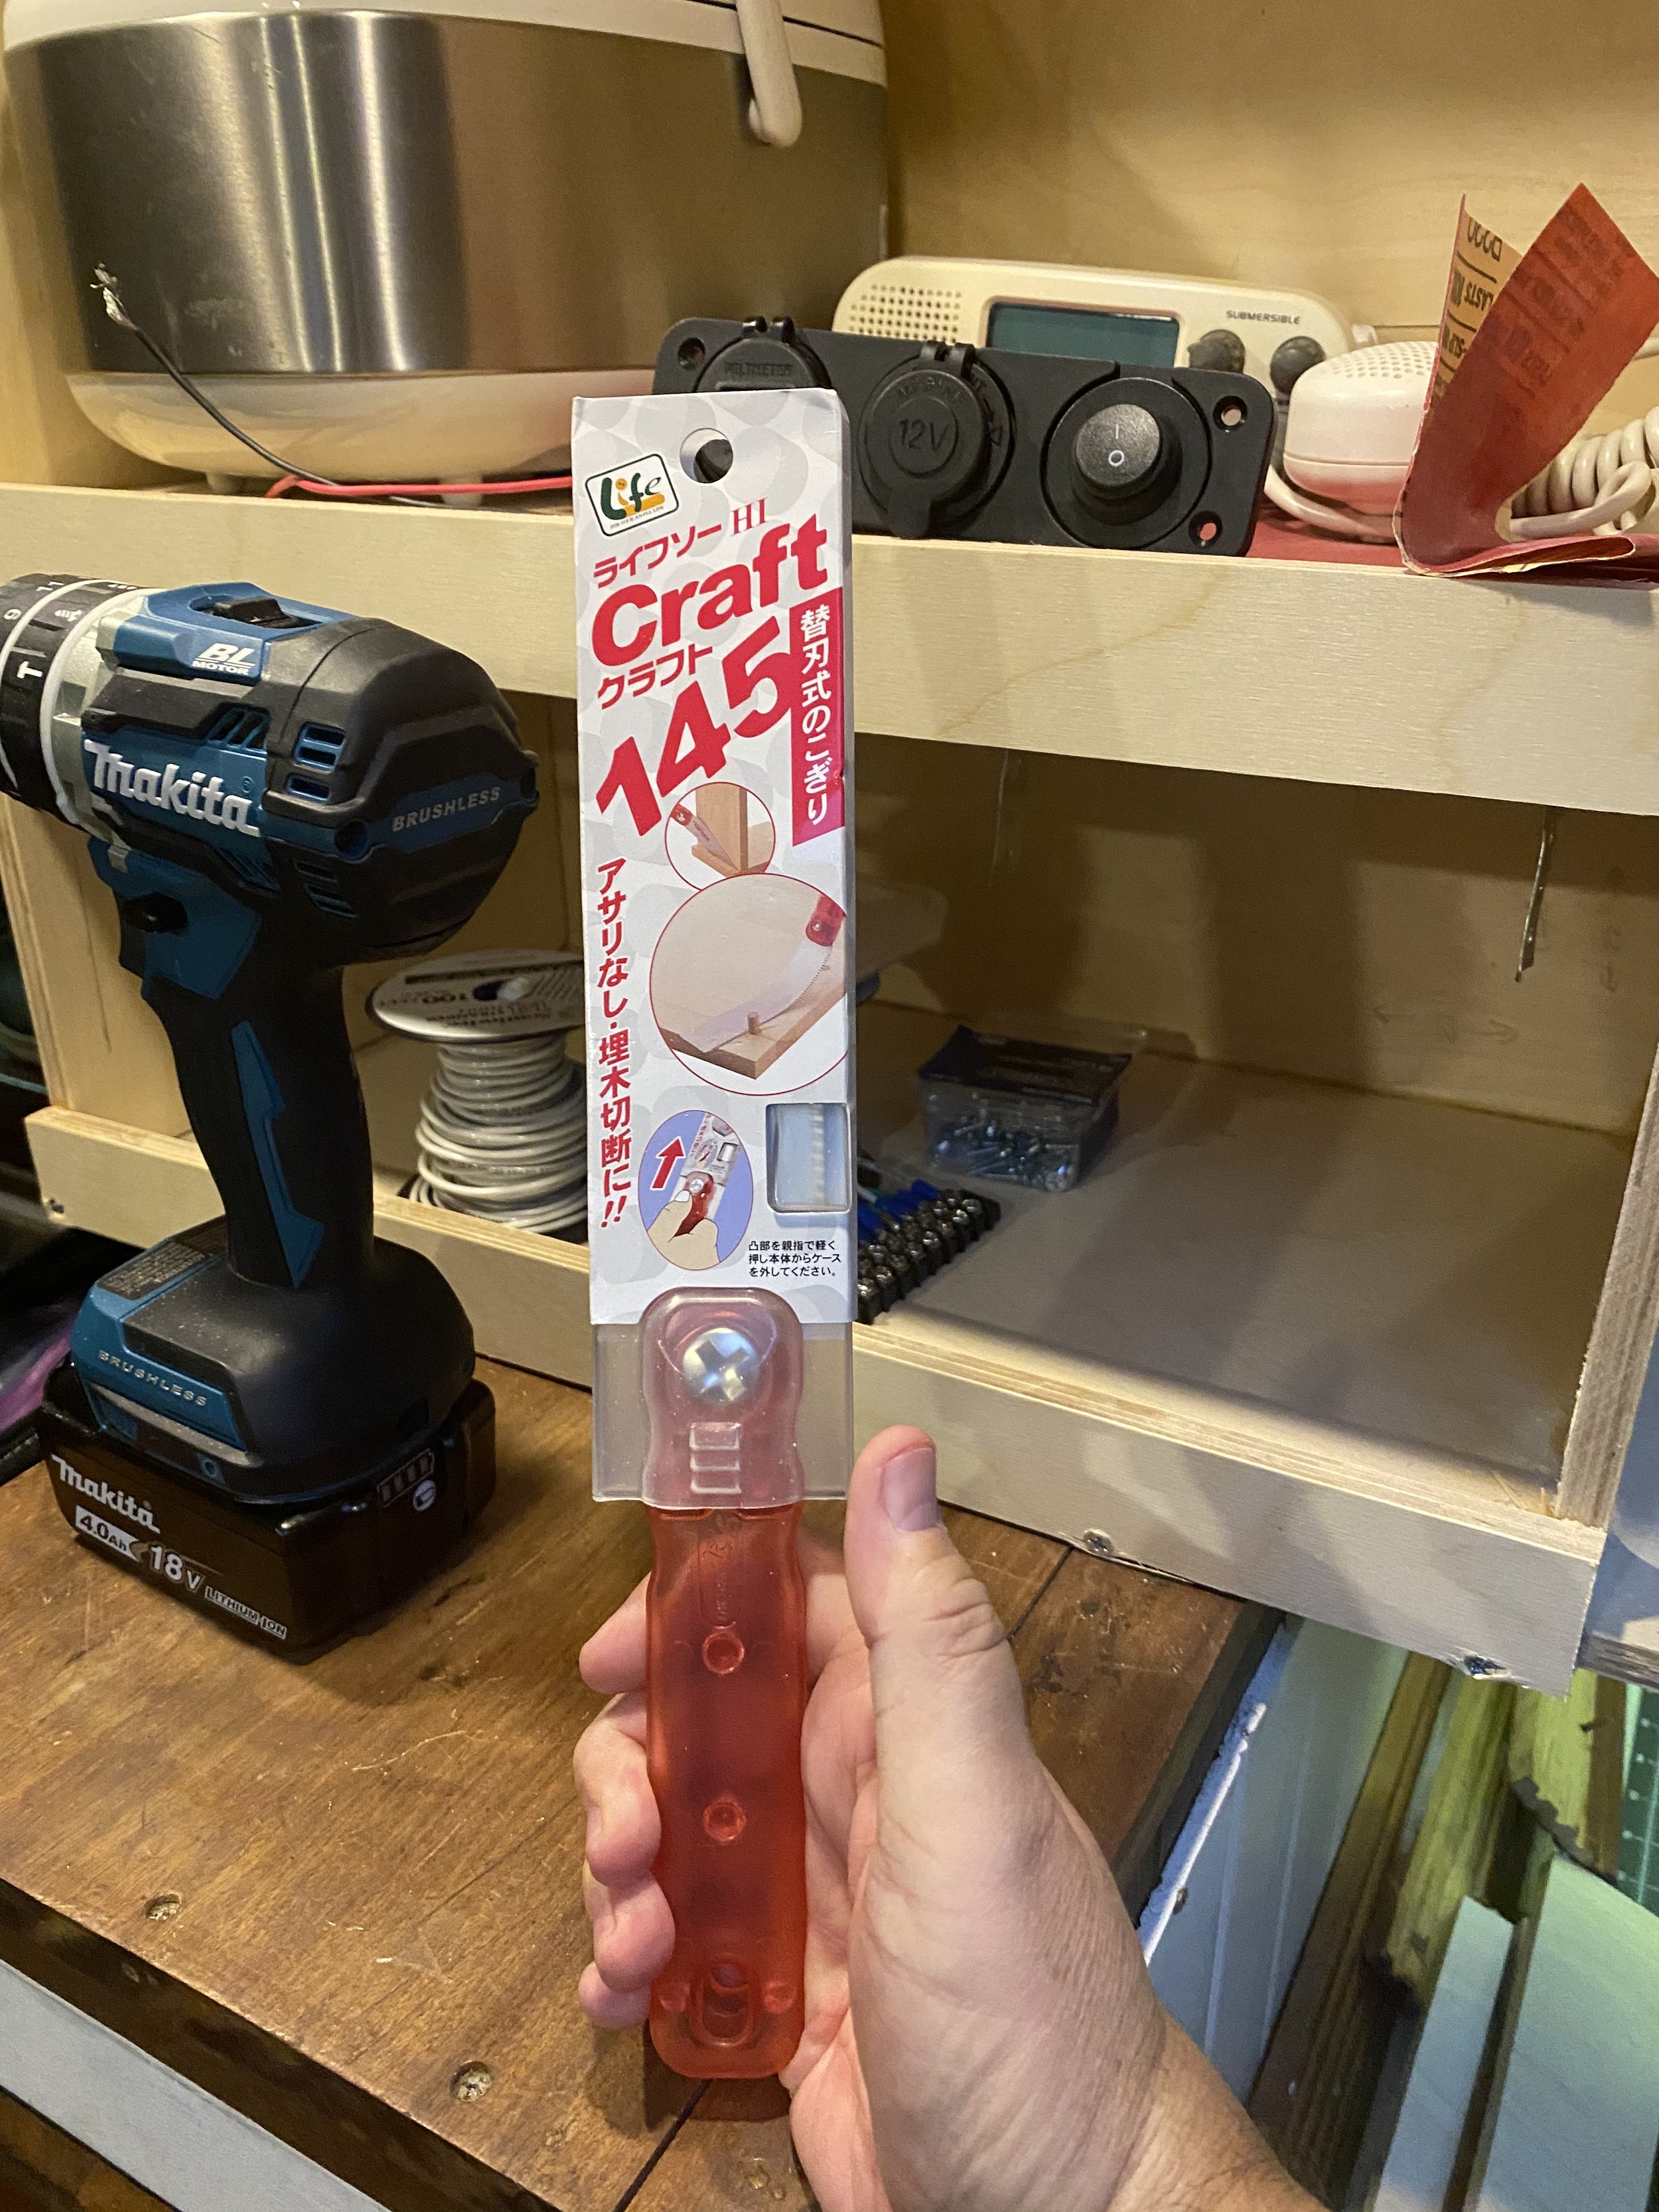
I found this cute and very small Japanese saw on amazon. It’s very thin and cuts very clean. It is not designed for large or long cuts (learned that the hard way) but does a great job on small cuts and creating clean edges.
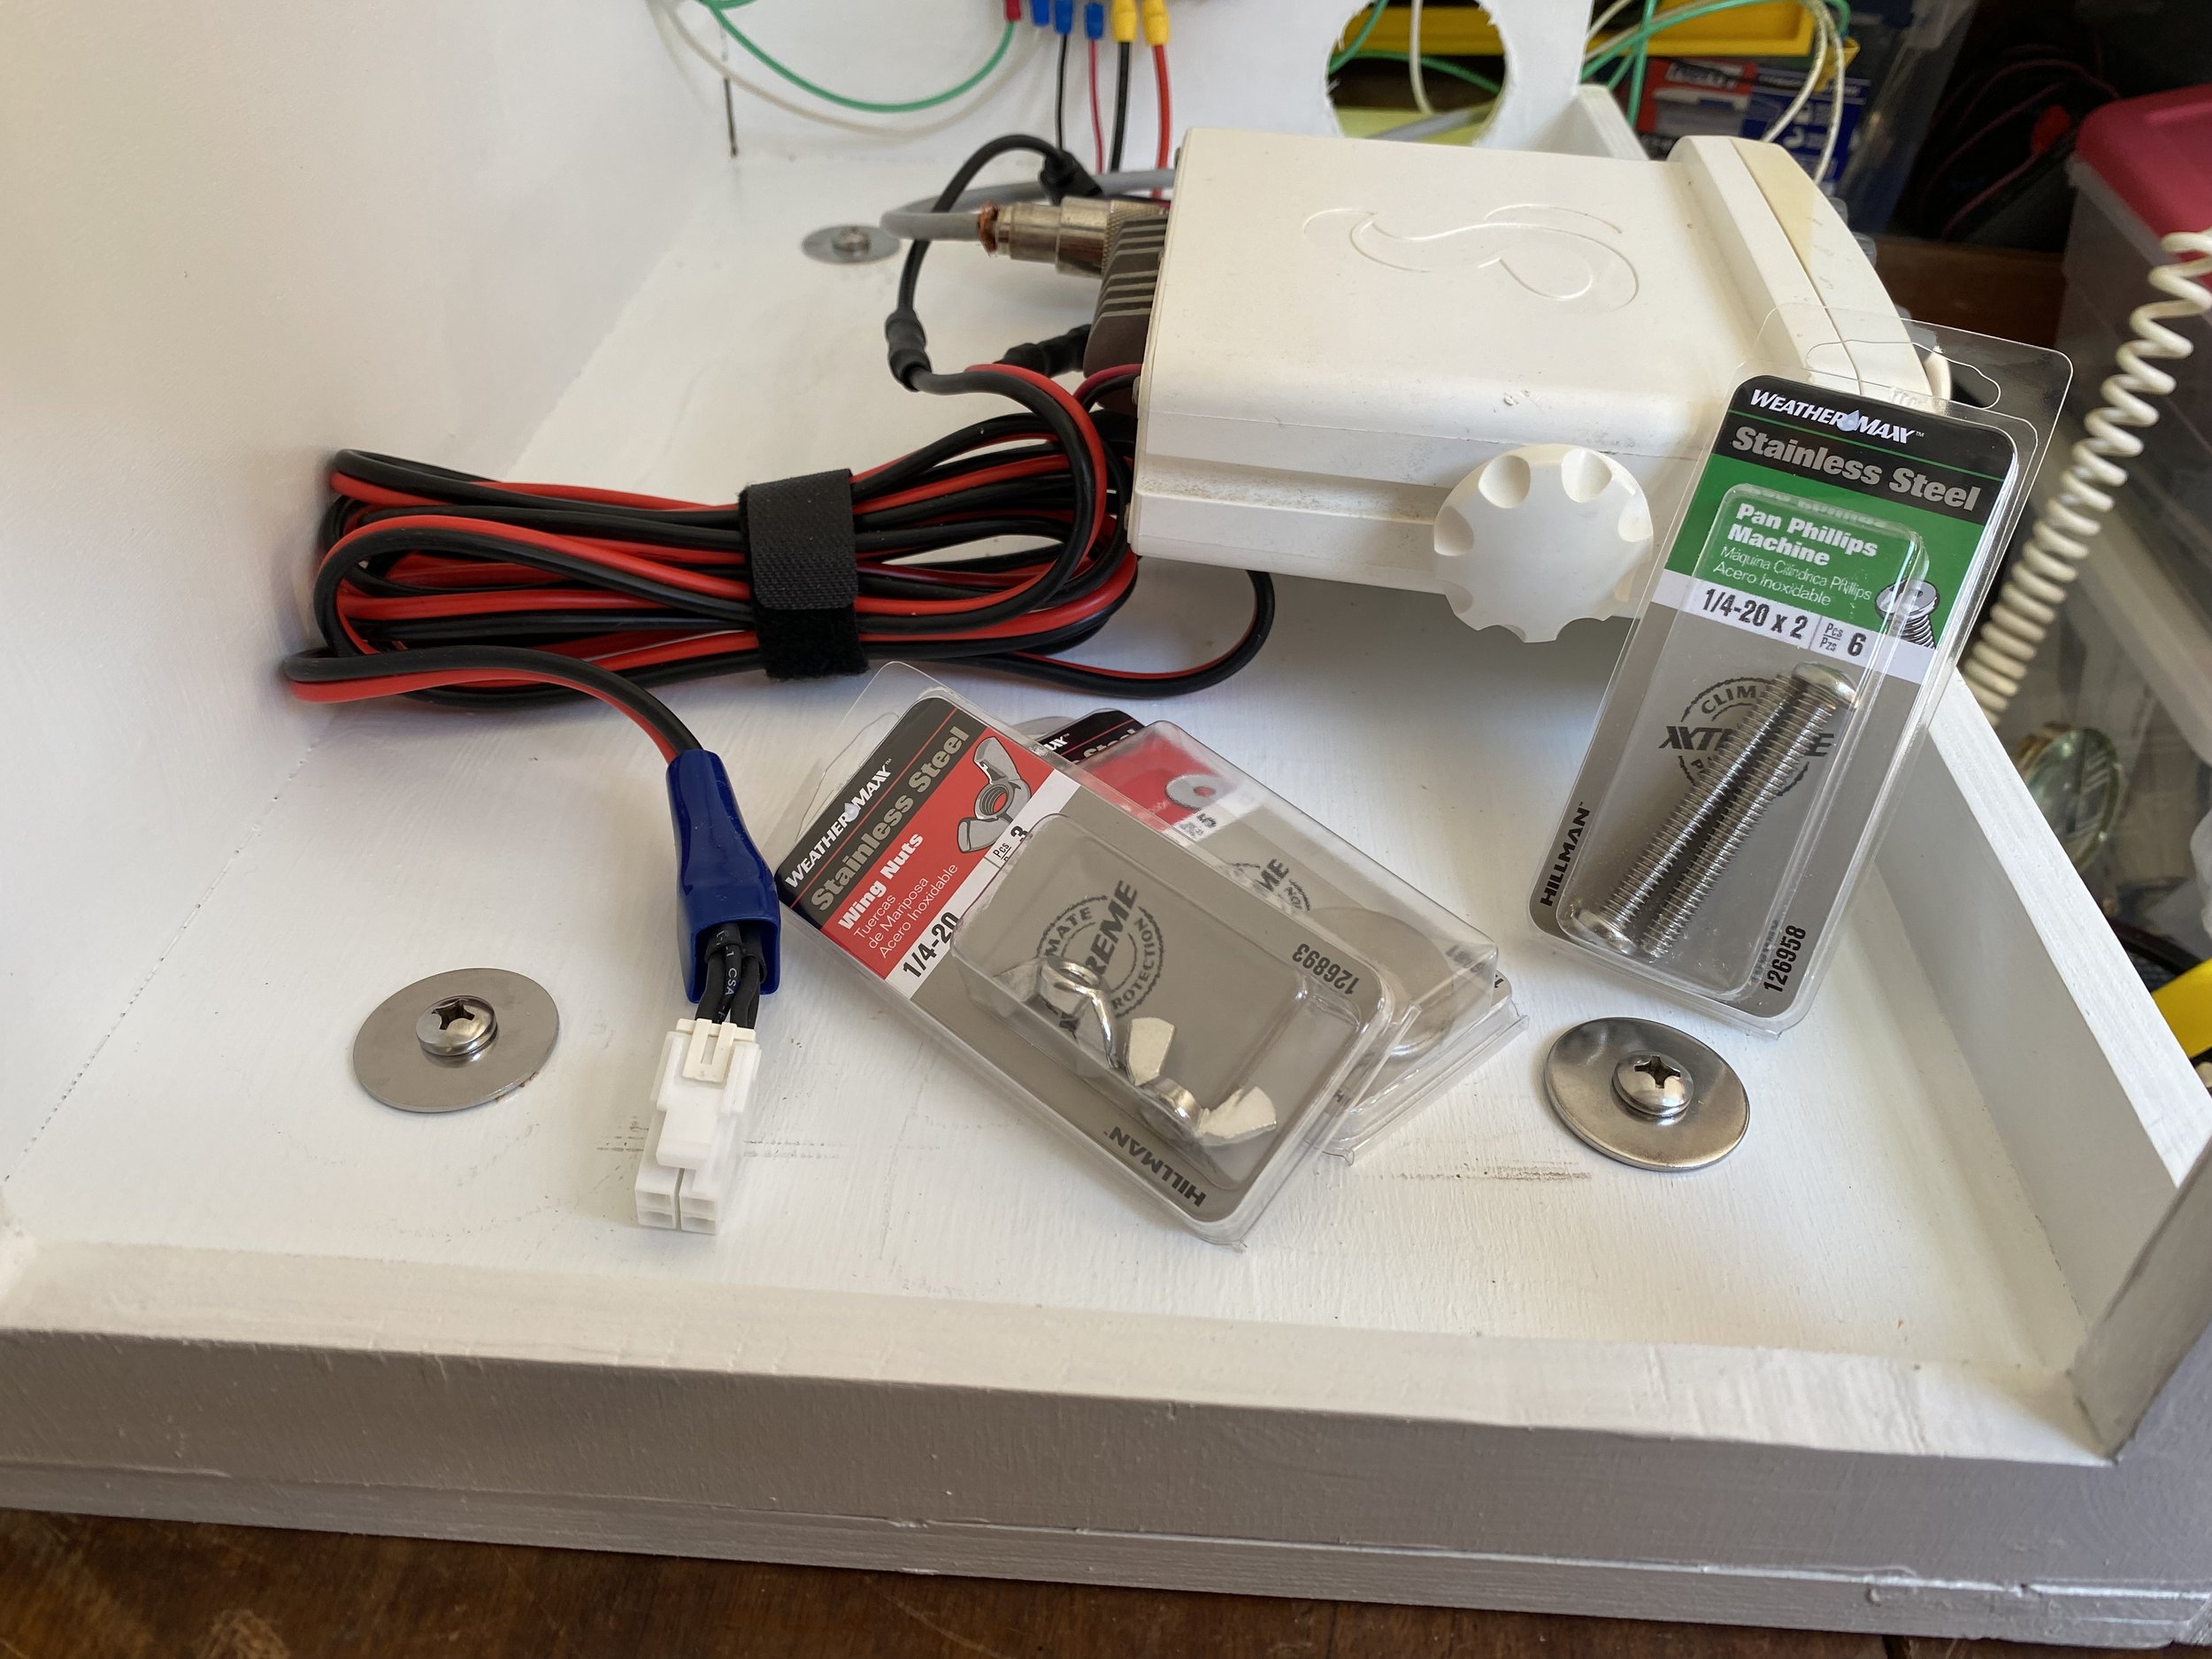
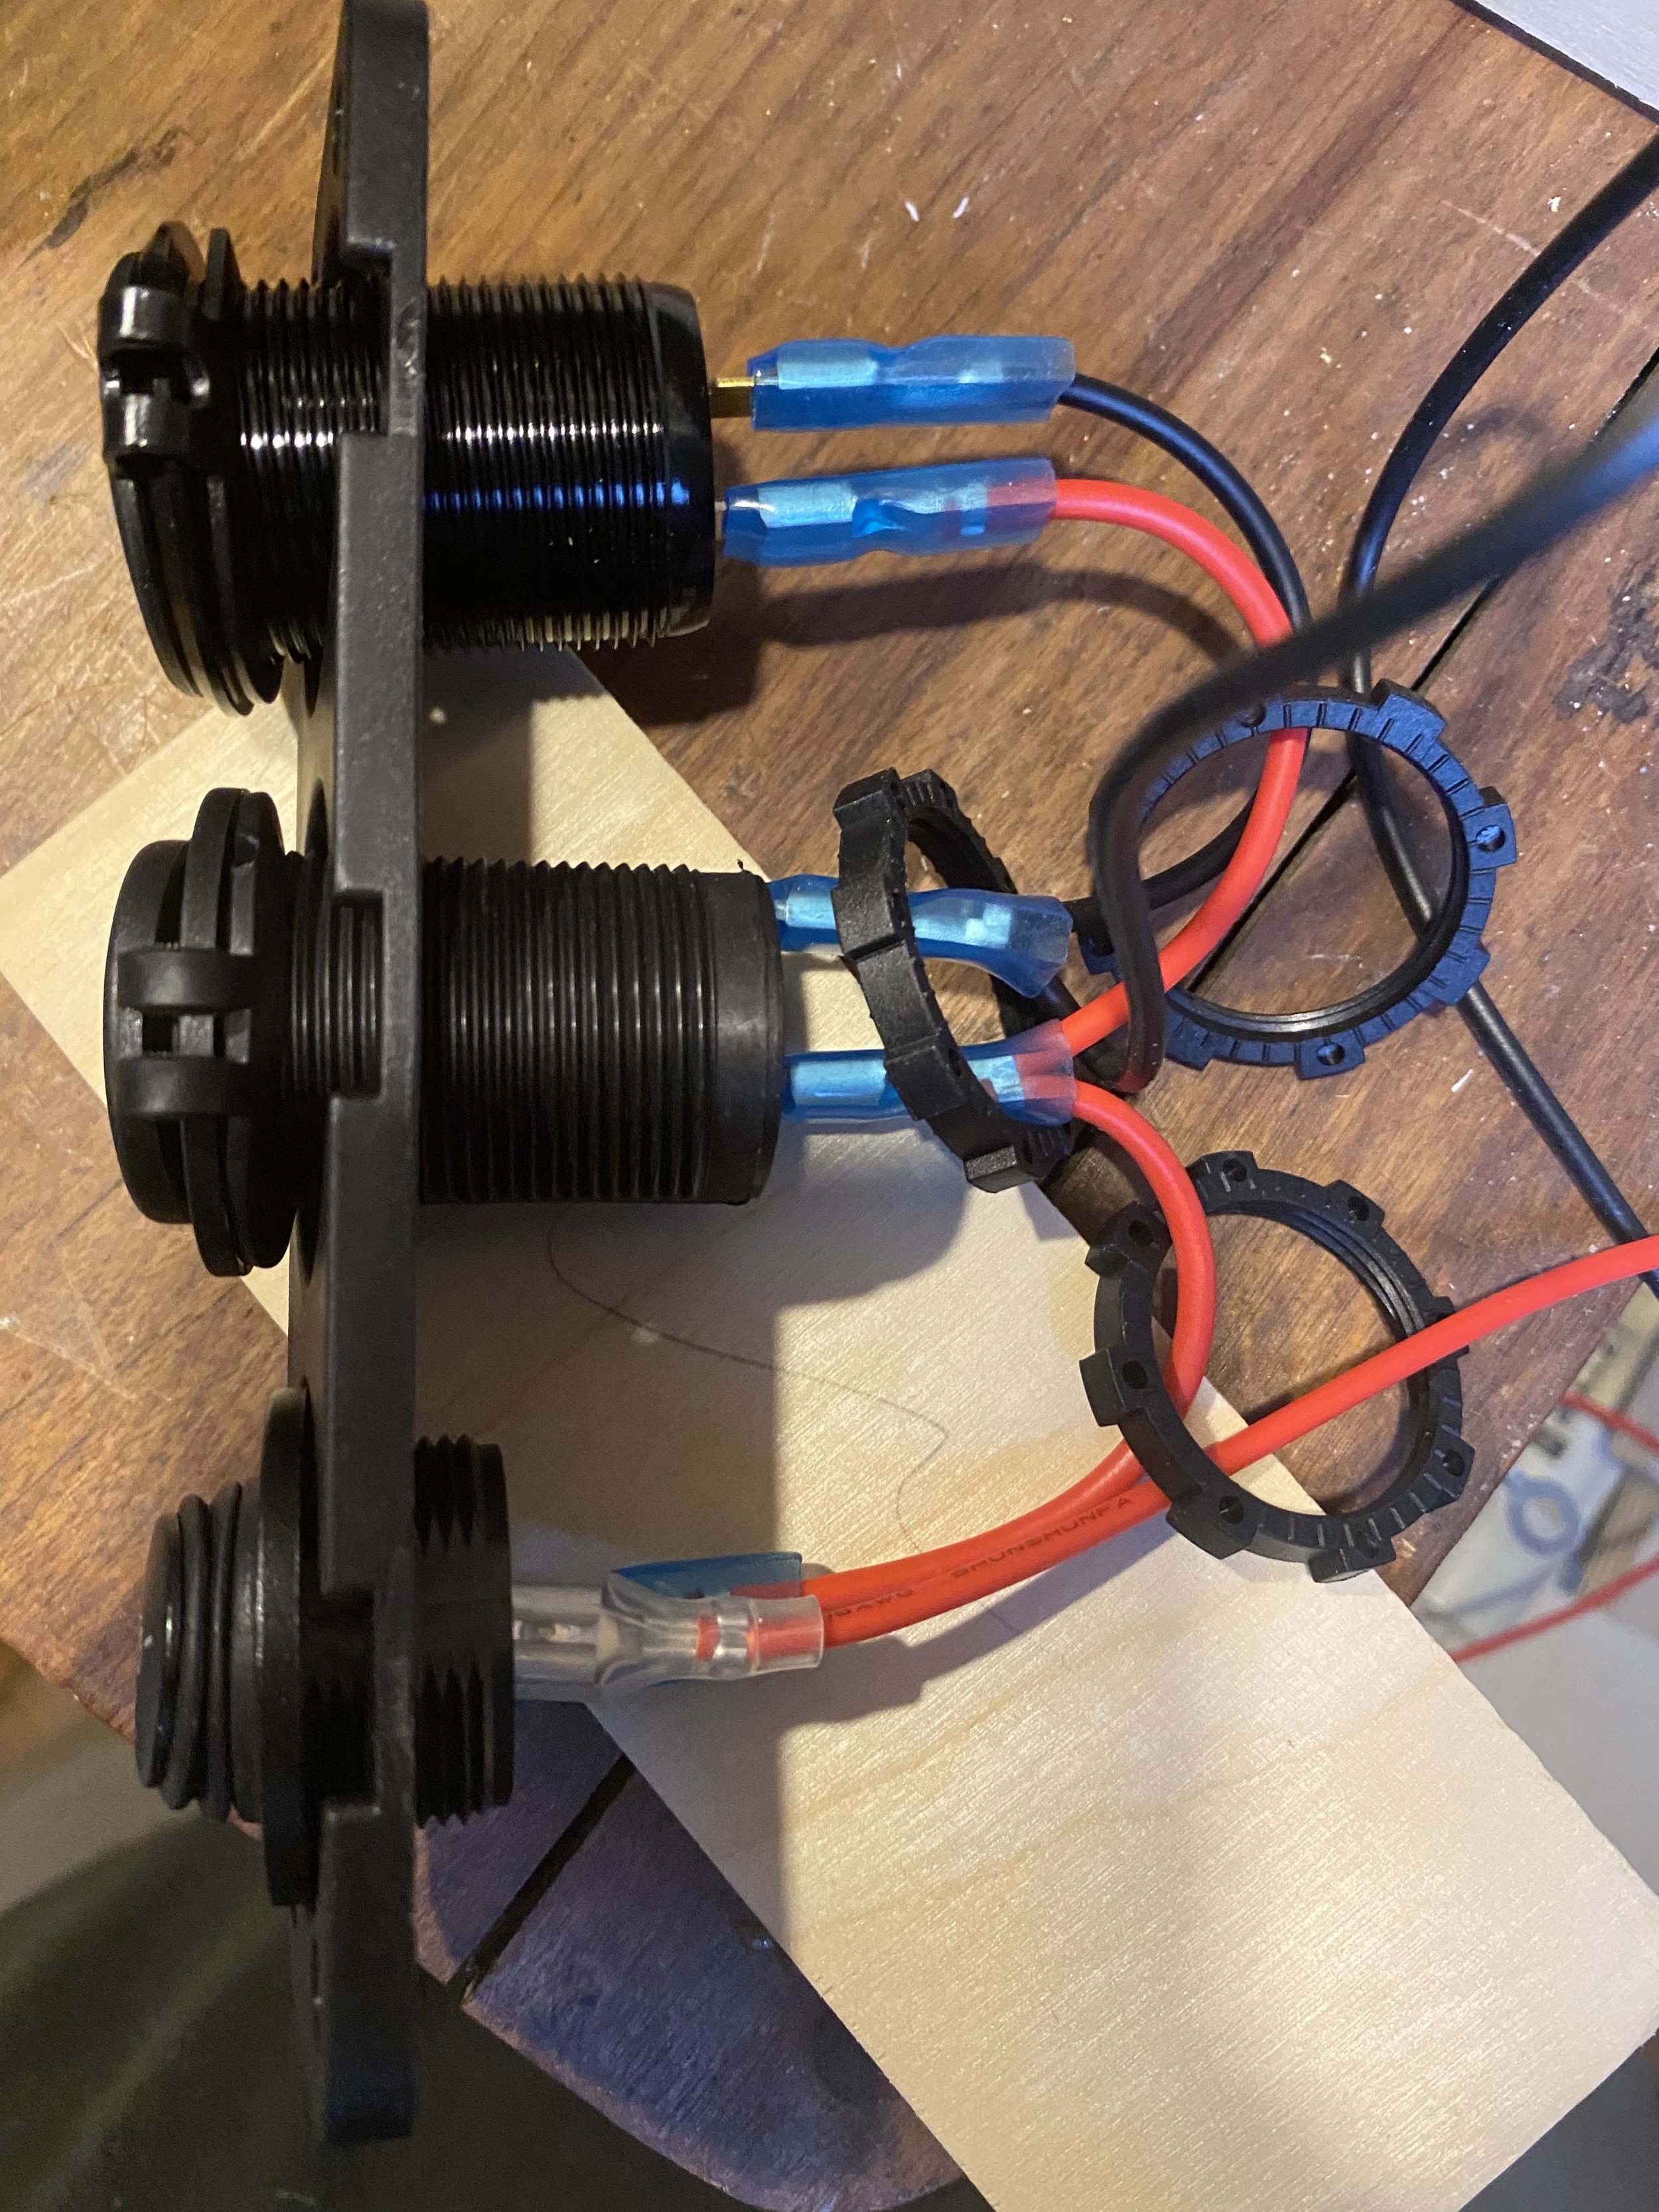
For the power, I found this nice little rig for RV’s that has an on/off switch, two usb ports and a 12vdc port. So I created a small mounting bracket for it and added it into the power panel.
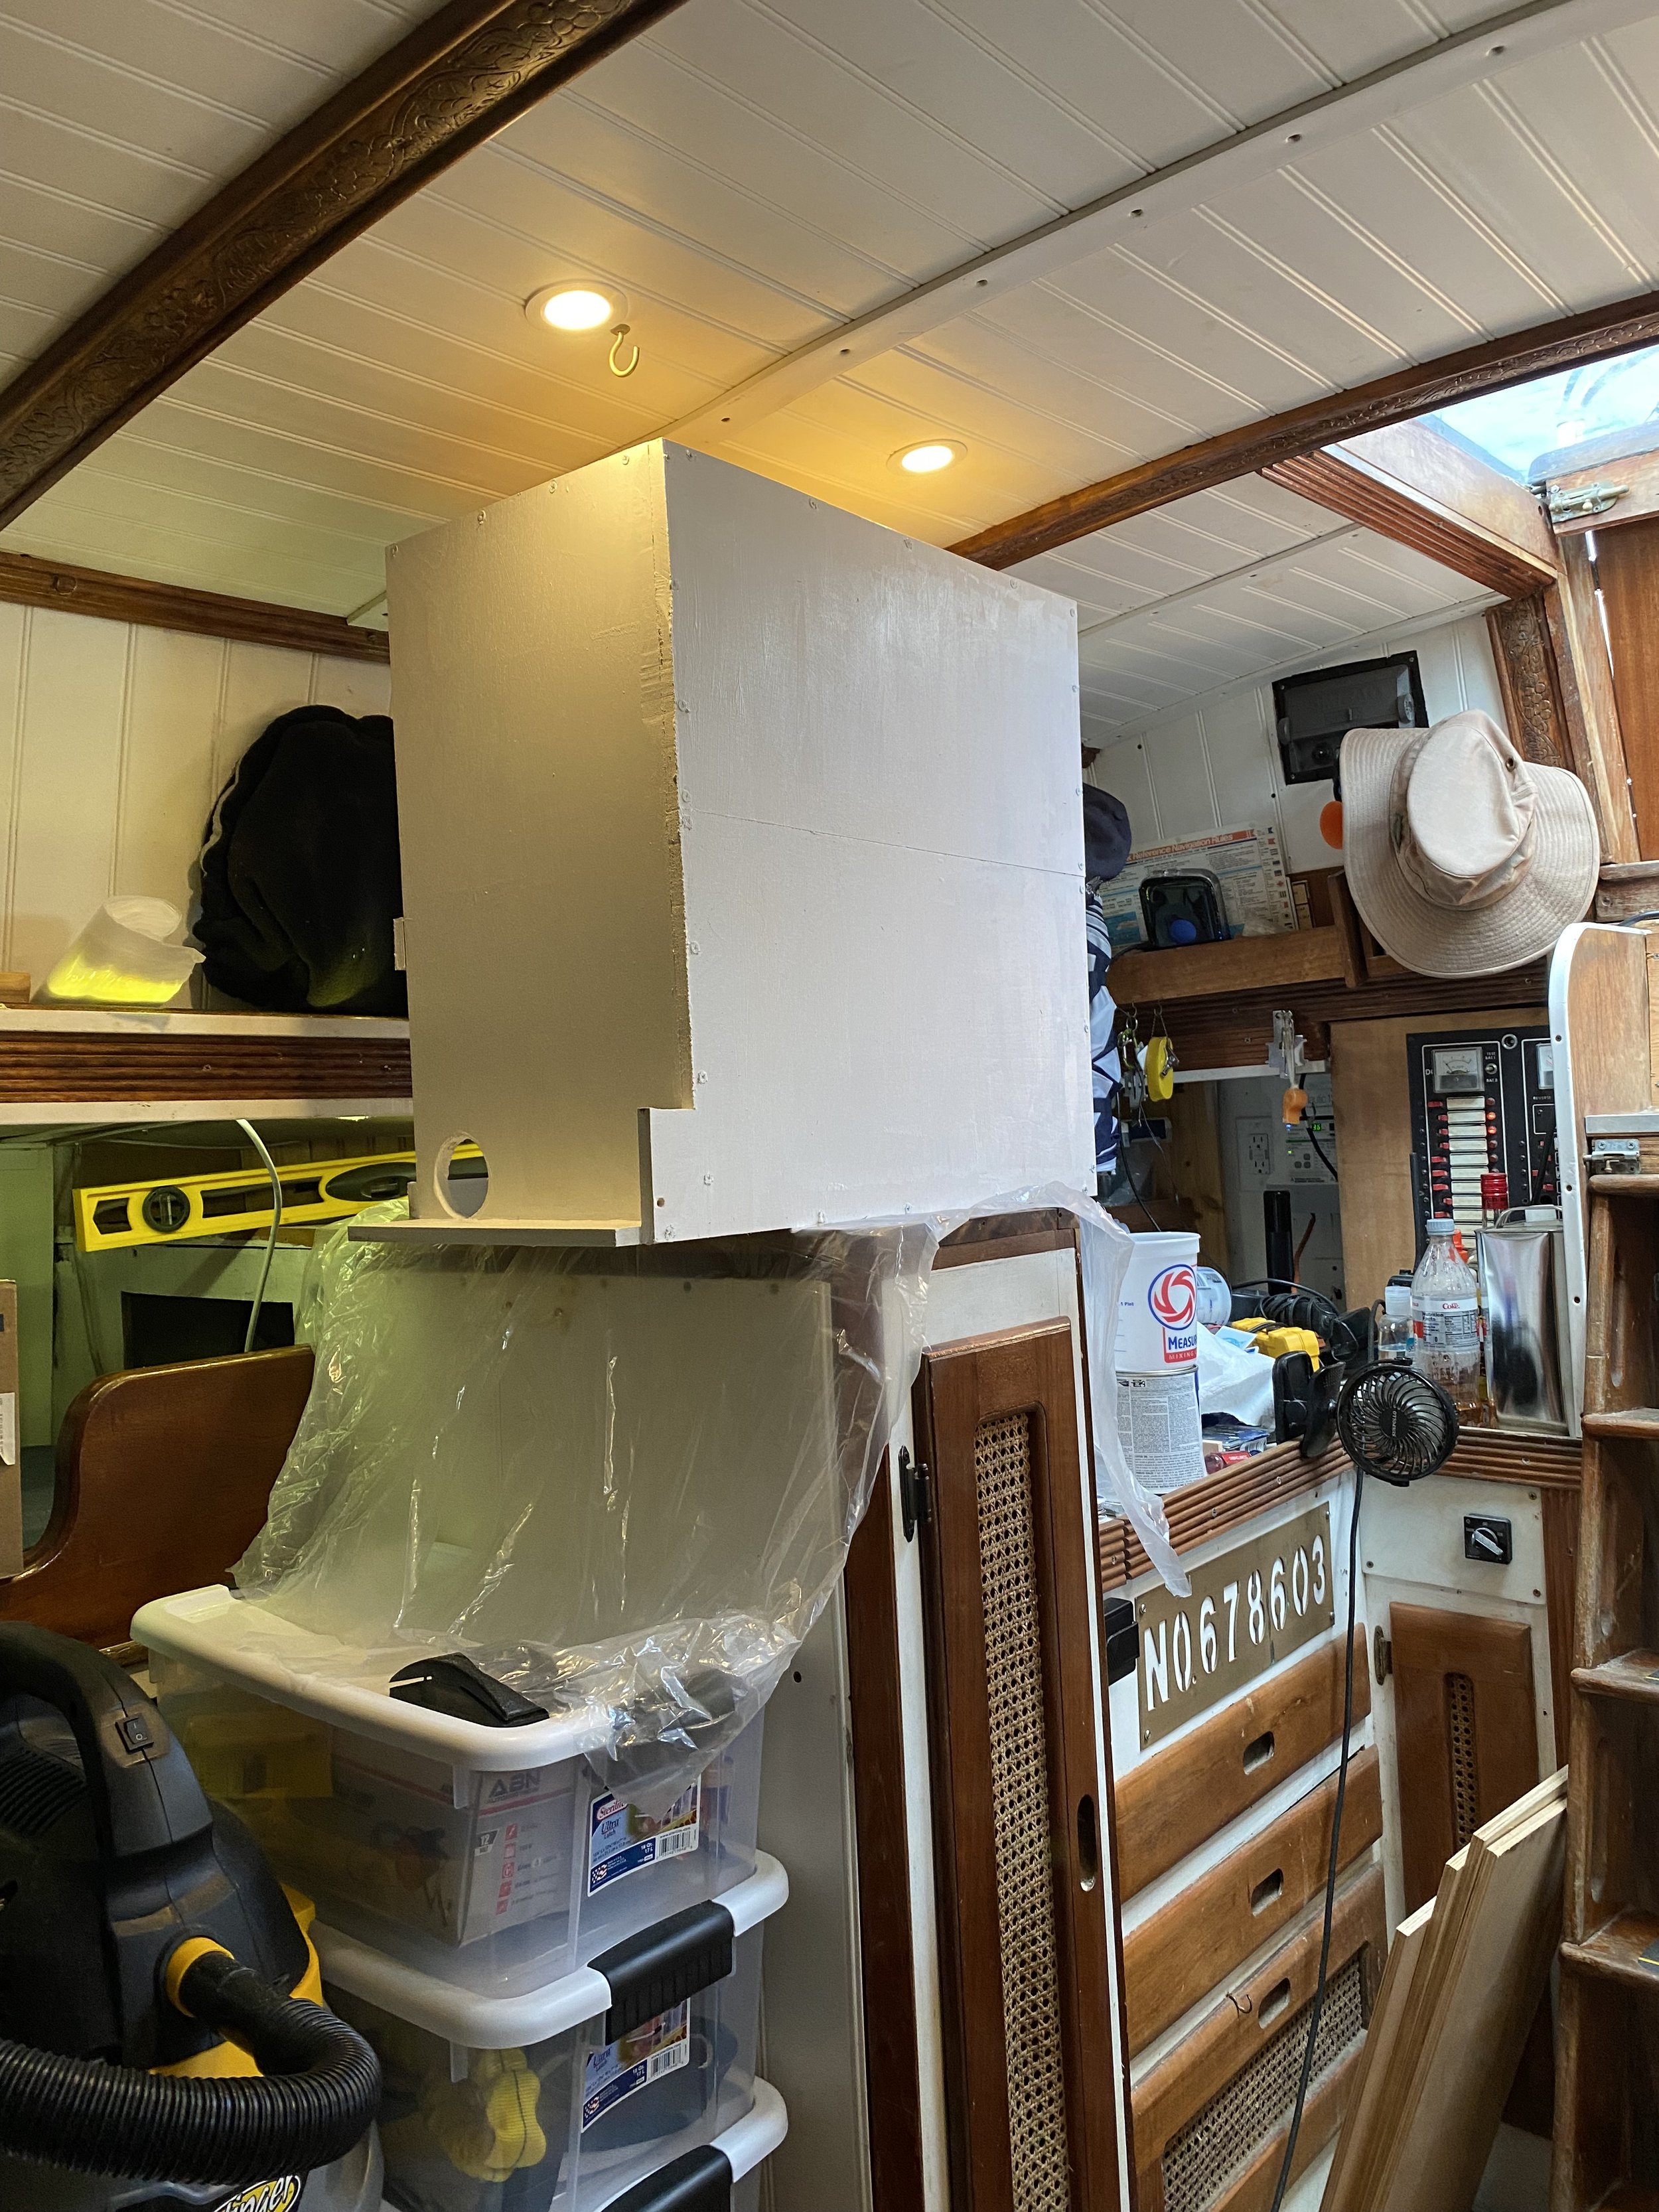
Everything got a couple of coats of white paint.
Through the whole process of design and build, refactor and rebuild, I never really locked in how I was going to mount the cabinet. I just figured I’ll bolt it to something somehow. Well, that’s what I ended up doing, 4 big bolts and washers with wingnuts and it is now very solidly, yet semi-permanently attached to the boat.
In the end, I’m very happy with how it turned out. Obviously, I’m no carpenter, but the design works, it’s functional and very sturdy. I also get to reclaim some wasted space at the nav station.